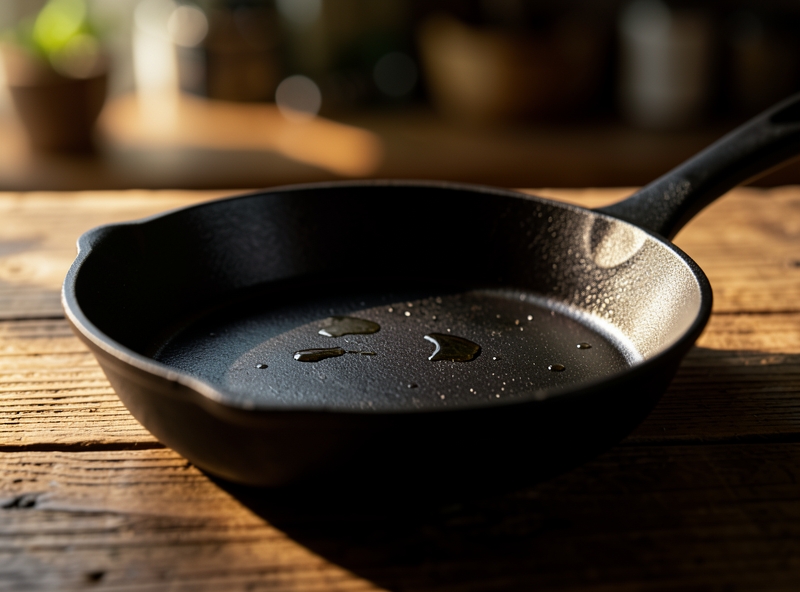
1. The Science Behind Cast Iron and Stainless Steel Cookware Surfaces
Have you ever hopelessly watched a prime ribeye steak stick stubbornly to the pan, tearing apart and burning despite pouring in plenty of oil? Or felt completely helpless looking at a dull, rusty-patched cast iron skillet after accidentally washing it with dish soap once? Most people blame their cooking skills or the quality of the pan, but the truth lies in an invisible war of physics and chemistry happening right on the metal surface.
To master heat and transform these tools into the "ultimate weapons" in your kitchen, you must understand their microscopic structure. Cast iron and stainless steel are not as smooth as they appear on the surface. They are physical entities operating under exceptionally strict scientific principles.
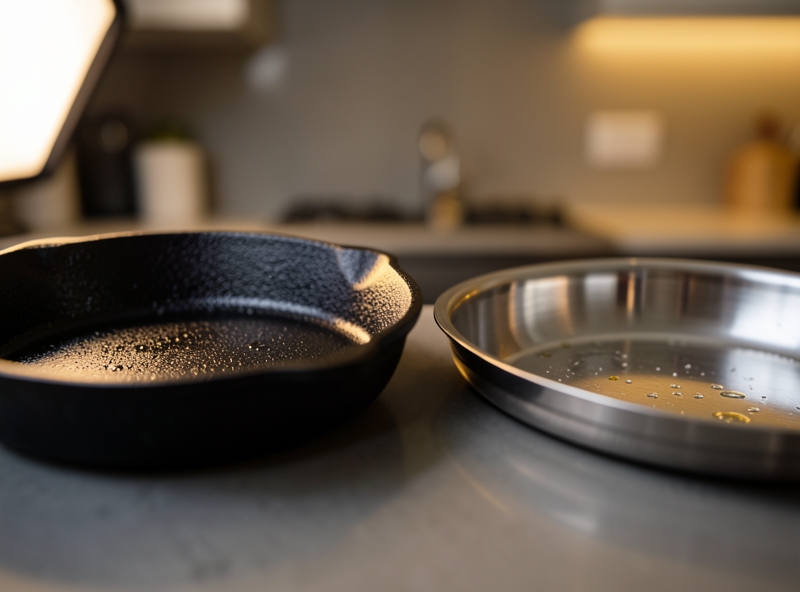
Imagine the surface of a cast iron skillet as a rugged mountainous terrain under a microscope. It contains millions of micro-pores and tiny crevices formed during the sand casting process and the uneven distribution of carbon crystals. When you heat the pan without a protective layer, food proteins seep into these voids, forming exceptionally strong chemical bonds with free iron ions. The result? Food gets locked tight to the pan surface.
In contrast, stainless steel is an extraordinarily sturdy yet remarkably sensitive alloy. Its protective "shield" is not an external plating, but an invisible film just a few nanometers thick made of chromium oxide (Cr₂O₃). This film forms automatically when chromium in the alloy reacts with oxygen in the air, completely preventing the oxidation of the inner iron core. However, when exposed to salt, strong acids, or uncontrolled extreme heat, this protective layer breaks down, leaving stainless steel vulnerable to yellowing, dulling, and losing its original mirror shine.
| Scientific Property | Cast Iron Cookware | Stainless Steel Cookware |
|---|---|---|
| Microscopic surface structure | Rough, filled with micro-pores and carbon crevices. | Smooth, covered by a self-healing chromium oxide film. |
| Non-stick mechanism | Fat polymerization (seasoning) filling the pores. | The physical Leidenfrost effect (creating a vapor barrier at proper temperatures). |
| Degradation factors | Moisture (causes rapid rusting), harsh detergents (strips away protective oil layer). | Sudden extreme heat (causes warping, yellow discoloration), severe physical scratches. |
"Using brute mechanical force to scrub a burnt pan is like using a razor to scrape paint off your car to clean off mud. You aren't cleaning it—you are destroying its structure."
When faced with a rusty cast iron skillet or a scorched stainless steel pot, many people's natural reflex is to scrub vigorously with steel wool. This is a severe mistake that damages your cookware. Harsh physical scrubbing only worsens the problem: it strips away the protective chromium oxide layer of stainless steel, exposing the vulnerable iron beneath, while scratching the interior of cast iron, creating even more crevices for rust to invade.
Restoring premium cookware must rely on the principles of chemistry and thermodynamics. Instead of destroying the surface structure, we need to use gentle liquid bonds, leverage the thermal expansion of metal to separate burnt carbon deposits, and reactivate the material's inherent self-defense mechanisms. That is the key to keeping your cookware durable for decades to come.
2. The 'Seasoning' Technique for Cast Iron Skillets from a Chemical Perspective
Is your newly bought cast iron skillet constantly sticking to food, or even worse, showing ugly rust spots after a few washes? Many people immediately blame the quality of the iron, but the truth is you haven't performed "Seasoning" properly. Seasoning isn't simply rubbing a layer of grease onto a metal surface. The essence of this process is a miraculous chemical reaction that transforms liquid cooking oil into an ultra-hard, naturally non-stick, and permanent protective coating.
"Seasoning a cast iron skillet is not about applying a coat of lubricating grease onto metal. It is the process of transforming the state of matter from liquid fat into a solid polymer network using heat."
From a chemical perspective, when fat is heated beyond its smoke point in an environment containing oxygen and iron (acting as a catalyst), polymerization occurs. The free fatty acids in the oil break their single bonds, restructure, and cross-link with one another to form an extremely durable organic polymer network. This natural plastic-like coating bonds tightly to the microscopic pores on the rough cast iron surface, creating a smooth, hydrophobic, and highly effective non-stick surface without the need for harmful chemicals like Teflon.
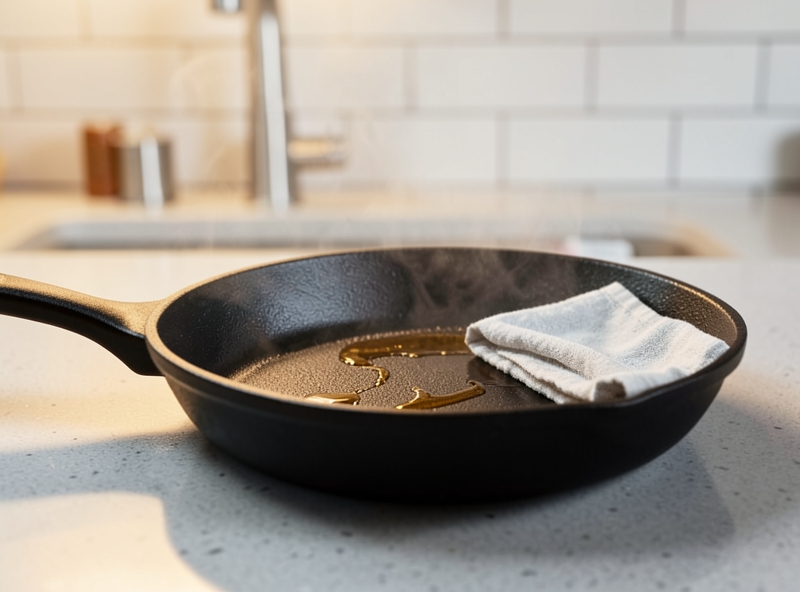
Secrets to Choosing the Optimal Oil: The Battle of Fatty Acids
Not all fats polymerize equally. For the cross-linking reaction to occur most effectively, you need oils rich in polyunsaturated fats. These molecules contain multiple double bonds, making them highly sensitive to heat and capable of easily bonding together to form strong polymer chains.
| Oil Type | Polyunsaturated Fat Ratio | Smoke Point (°C) | Pros & Cons |
|---|---|---|---|
| Flaxseed oil | Very high (~68%) | ~107°C | Creates the hardest layer, but prone to flaking if applied too thickly; expensive. |
| Canola oil | Moderate (~28%) | ~204°C | Readily available, inexpensive, creates a flexible coating less prone to cracking under thermal stress. |
| Grapeseed oil | High (~70%) | ~216°C | Ideally high smoke point, creates a smooth glossy surface, bonds exceptionally well to the cast iron surface. |
| Animal fat (Lard/Tallow) | Low | ~190°C | Traditional method, but can turn rancid and produce bad odors if not fully polymerized. |
Pro-Level Seasoning Process at Home
To achieve a mirror-like, glossy black non-stick coating, you must strictly follow the process for controlling temperature and oil layer thickness. Follow these steps:
- Step 1: Deep Clean: Wash the skillet thoroughly with warm water and a mild dish soap to remove dirt or old rancid oil layers. Dry completely, then place the skillet over a heated stove for about 5 minutes to ensure all moisture trapped in the iron pores fully evaporates.
- Step 2: Apply an Ultra-Thin Layer of Oil: While the skillet is still warm, apply a few drops of oil (grapeseed oil or canola oil recommended) onto the surface. Use a paper towel or microfiber cloth to rub it evenly all over the interior, exterior, and handle.
- Step 3: Wipe Off Excess Oil (Crucial Step): Use a fresh, clean paper towel to thoroughly wipe down the entire skillet as if you are trying to completely remove the oil you just applied. The seasoning oil layer only needs to be a few micrometers thick. If the oil is left too thick, the baked polymer layer will end up sticky, splotchy, and prone to flaking.
- Step 4: Bake to Trigger the Reaction: Place the skillet upside down in an oven preheated to 230°C - 250°C (the temperature must exceed the smoke point of the oil used). Place a sheet of aluminum foil on the bottom rack to catch any potential drips. Bake continuously for 60 minutes.
- Step 5: Cool Down Naturally and Repeat: Turn off the oven and let the skillet cool down gradually inside the oven for about 1 hour. For maximum performance, repeat the entire cycle (from Step 2 to Step 5) 3 to 5 times. Your skillet will gradually turn from a dull gray to a deep, glossy black, ready to take on even the stickiest foods.
3. Methods to remove burn marks on stainless steel without damaging its structure
The moment a pitch-black burnt patch clings firmly to the bottom of a high-end stainless steel pot is when many people make a fatal mistake: grabbing a steel wool pad immediately or pouring harsh chemical cleaners to scrub away. This action is a death sentence for your expensive cookware. Stainless steel possesses corrosion resistance and a shiny appearance thanks to an ultra-thin passive Chromium Oxide (Cr₂O₃) layer, just a few nanometers thick on the surface. When you use aggressive mechanical force with steel wool, you not only scratch the surface and ruin its aesthetically pleasing mirror finish, but you also tear apart this protective layer, opening the door for natural oxidation and causing food to stick ten times more easily during subsequent cooking sessions.
To save your cookware without destroying its metallic structure, you need to apply smart physicochemical solutions based on the principles of breaking carbon bonds and leveraging thermal expansion.
| Harsh Scrubbing Method | Structure-Preserving Method (Scientific) |
|---|---|
| Mechanism: Uses heavy friction to mechanically cut through both the burn marks and the metal surface. | Mechanism: Breaks down the chemical bonds of the carbon residue from within, leaving the stainless steel base intact. |
| Consequence: Creates micro-scratches, damages the protective Cr₂O₃ layer, causing localized rust. | Result: Smooth stainless steel surface, restores original shine, extends cookware lifespan. |
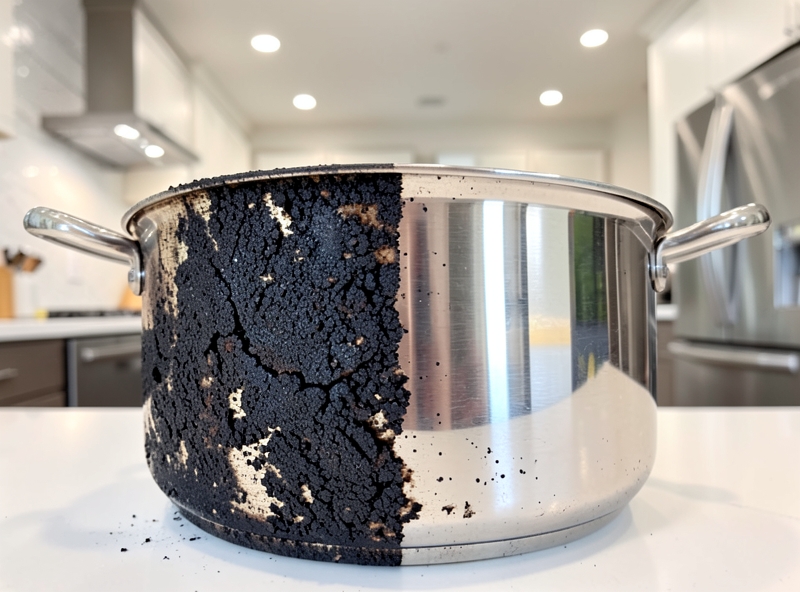
Solution 1: Dynamic Effervescent Reaction of Baking Soda and Vinegar
This is a perfect combination of a mild base (Sodium Bicarbonate) and a weak organic acid (Acetic Acid). Instead of mixing them from the beginning, which creates a harmless neutralization reaction, the precise procedure should be carried out in two steps:
- Step 1: Evenly spread a dry layer of baking soda powder to cover the entire burnt area.
- Step 2: Spray vinegar directly onto the powder layer. A reaction releasing tiny effervescent bubbles of carbon dioxide gas (CO₂) occurs immediately. This mechanical bubbling process acts like millions of "micro-drills," seeping into the crevices of the residue and lifting the stubborn carbon structure off the metal surface without needing any heavy physical force.
Solution 2: Thermal Removal via Boiling Water Expansion
Metal and the burnt carbon layer have completely different thermal expansion coefficients. When heated, stainless steel expands much faster than the hard, dry organic residue. Taking advantage of this physical principle:
- Pour water over the burn mark, add a few drops of concentrated dishwashing liquid with high surfactant properties or a tablespoon of mild laundry detergent.
- Place the pot on the stove and boil for 10 to 15 minutes. The heat from the water expands the metal while the surfactant penetrates, wets, and softens the burnt polymer bonds.
- As the water cools down, simply use a wooden spoon or a soft sponge to gently scrape it; the entire burnt layer will peel off in large flakes effortlessly.
"Stainless steel is not afraid of high temperatures; it only fears mindless mechanical abrasion that rips away its natural protective layer."
Solution 3: Utilizing Oxalic Acid - The Ultimate Weapon Against Carbon Bonds
For pitch-black, stubborn burn marks that have persisted for days where conventional methods fail, Oxalic Acid (the main active ingredient in specialized cleaning powders like Bar Keepers Friend) is the ultimate solution. Oxalic acid is an organic compound capable of extremely strong chelation with divalent and trivalent metal ions.
This compound directly attacks the iron oxide and burnt carbon bonds, dissolving them into water-soluble compounds while remaining completely inert to the protective Chromium Oxide layer of stainless steel. Simply wet the surface, sprinkle an adequate amount of powder to form a paste, gently rub with a damp sponge, let it sit for 1 to 2 minutes, and rinse thoroughly. As a result, the stainless steel surface is not only spotless but also regains its original mirror-like shine.
4. Step-by-Step Restoration Process for Heavily Rusted Cast Iron
Don't rush to throw that bright red rusted cast iron skillet into the trash. The biggest mistake many people make is assuming that a thick layer of rust means the skillet is completely ruined. In reality, cast iron is virtually indestructible. That rough layer of iron oxide is just a temporary dirty "crust" clinging to the extremely durable base metal underneath. Simply follow the chemical reversal process below, and you will revive a slick, black, non-stick skillet that works like new.
"Rust is merely a surface chemical reaction, not the end of a cast iron skillet. Restoring cast iron is an art of controlling chemicals and heat."
To safely restore a severely rusted skillet, follow these 4 expert steps in sequence.
Step 1: Dissolve iron oxide in a controlled manner using diluted acetic acid
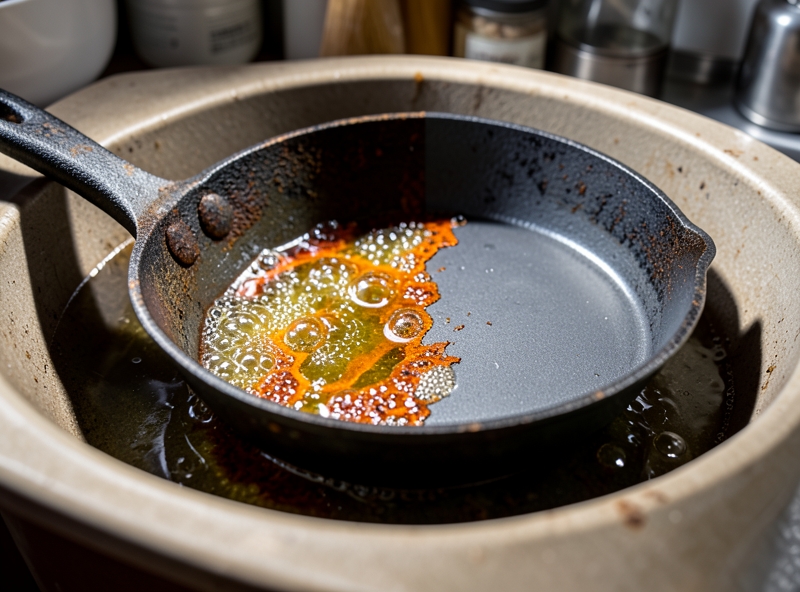
Mix a solution of distilled white vinegar (5% acetic acid) and clean water at a 1:1 golden ratio in a plastic tub large enough to submerge the entire skillet. Acetic acid will react directly with iron oxide ($Fe_2O_3$), breaking down the stubborn rust structure.
Critical Note: Soak the skillet for a maximum of 30 to 60 minutes only. Never leave it soaking overnight. Acid is a double-edged sword; after eating away the rust layer, it will attack the base metal (raw iron) directly, causing irreparable pitting on the skillet's surface.
Step 2: Neutralize the acid and scrub thoroughly
After taking the skillet out of the bath, the rust layer will be softened and loosened. Use a stiff brush or steel wool along with dish soap to scrub vigorously, removing all clinging rust patches completely.
Right after, you must neutralize the excess acid trapped in the microscopic pores of the iron. Wash the skillet with a mixture of warm water and 1 tablespoon of baking soda (mildly alkaline sodium bicarbonate) to bring the pH back to neutral, stopping further corrosion.
Step 3: Dry thoroughly to prevent "Flash Rust"
Once stripped of rust, bare cast iron is extremely vulnerable to oxygen. If allowed to air dry, "flash rust" will appear within minutes as a thin orange film.
To prevent this, towel dry the entire surface immediately after washing. Then, place the skillet on a gas or induction stove over medium heat, or put it in an oven at 200°F (100°C) for 10-15 minutes. High heat will force out any moisture trapped deep within the open pores of the cast iron, evaporating it completely.
Step 4: Re-establish a new seasoning layer from scratch
While the skillet is still warm from the drying step, the microscopic pores on the iron's surface are expanded to their maximum. This is the perfect moment to build a new polymerized protective layer.
- Apply an ultra-thin layer of oil: Apply a thin coat of high-smoke-point oil (such as canola oil, grapeseed oil, or lard) over the entire surface of the skillet. Then, use a clean paper towel to wipe it thoroughly as if trying to remove all the oil you just applied. The optimal oil layer for seasoning must be extremely thin—down to the molecular level. If applied too thickly, the skillet will end up sticky and splotchy after baking.
- Bake at high temperature: Place the skillet upside down in a preheated oven at 450°F to 480°F (230°C to 250°C) for 60 minutes. Placing it upside down prevents any excess oil from pooling in the basin. This heat process converts liquid fat bonds into a dry, hard, glass-like polymer coating firmly bonded to the cast iron surface.
- Repeat the process: Allow the skillet to cool naturally inside the oven. For optimal non-stick performance and a deep black finish, repeat this oiling and baking process 2 to 3 times in a row.
A seemingly ruined, heavily rusted cast iron skillet now has a brand-new life: slick, glossy black, and ready for the ultimate non-stick cooking challenges in your kitchen.
5. Frequently Asked Questions (FAQ) About Metal Cookware Maintenance
Have you ever cringed watching your expensive cast iron skillet get splotched with rust after a single wash, or felt helpless staring at strange rainbow stains on your stainless steel pot? Word-of-mouth myths are quietly ruining your cookware every day. Below are scientifically sound answers from metallurgy experts to dispel your worries and extend the life of your cookware set for decades.
Can you use dish soap on a seasoned cast iron skillet?
Yes, but it must be done correctly. This is the most common misconception among home cooks. Old-fashioned soap contained extremely high levels of strong alkali (lye), which easily eroded the seasoning layer. However, modern dish liquid is a mild synthetic detergent. The seasoning itself is not ordinary grease, but a **biopolymer** layer tightly bonded to the iron surface through polymerization via heat. Diluted dish liquid cannot destroy this polymer layer. You can definitely use a small amount of dish soap and a soft sponge to clean stubborn stains, but strictly avoid scrubbing aggressively with steel wool.
How do you fix rainbow stains (heat tint) on stainless steel?
Those rainbow swirls are neither toxic chemicals being exposed nor a sign of poor quality cookware. It is simply a **light refraction** phenomenon that occurs when the natural protective chromium oxide layer on the stainless steel surface thickens due to high heat exposure. To restore your stainless steel pan to its original shiny luster in just 3 seconds, all you need is a small amount of **mild acid, such as vinegar or lemon juice**. The acid gently dissolves this thick oxide layer. Simply dampen a soft cloth with vinegar, wipe gently over the stain, rinse thoroughly with water, and dry completely.
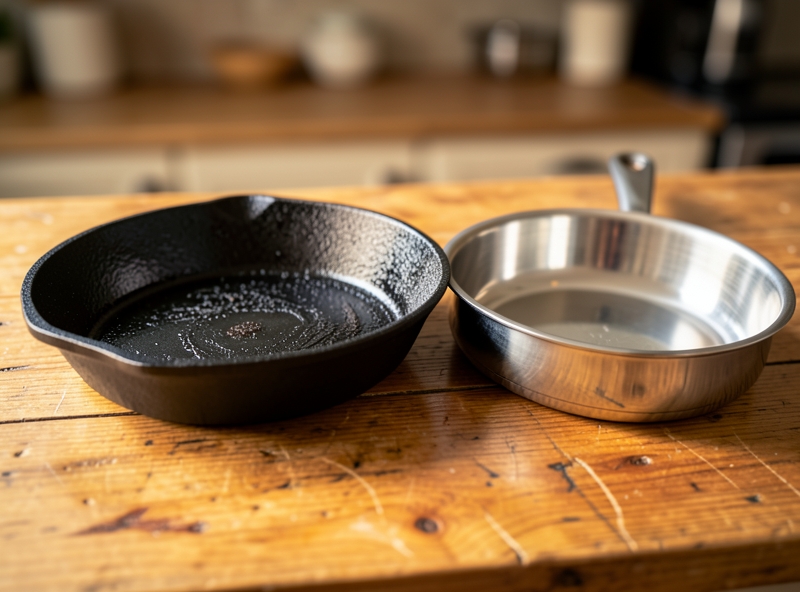
"Don't be afraid when your cast iron skillet loses its natural non-stick layer. Cast iron is all about continuous renewal. As long as you have heat and cooking oil, you can always fix any mistake."
How often should you re-season a cast iron skillet?
There is no fixed schedule for this. How often you need to re-season depends entirely on how you use it:
- Quick maintenance seasoning (after each use): Done daily. After washing and thoroughly drying the pan, apply a thin layer of oil (just a few drops) to the entire surface, heat it on the stove until it lightly smokes, then turn off the heat and let it cool.
- Full re-seasoning (in the oven): Only needs to be done 1 to 2 times a year, or whenever you notice signs of rust, food sticking continuously despite using plenty of oil, or the surface turning a dull, patchy gray color.
What is the daily maintenance routine to ensure your cookware lasts a lifetime?
To avoid having to fix mistakes, turn these two core principles into non-negotiable habits in your kitchen:
- Say no to thermal shock: Never run cold water over a piping hot pan right after taking it off the stove. Sudden thermal contraction can warp the bottom of a stainless steel pan or cause severe cracking in cast iron. Allow the cookware to cool naturally to room temperature before cleaning.
- Eliminate all moisture completely: Water is the number one enemy of metal, especially cast iron and carbon steel. After washing, wiping with a cloth towel isn't enough to remove moisture trapped in the microscopic pores of the cast iron surface. Place the pan on a hot stove for 1 to 2 minutes to let all moisture evaporate completely before storing it in a dry cabinet.