1. Terrarium Art: Nature Minimized in the Palm of Your Hand
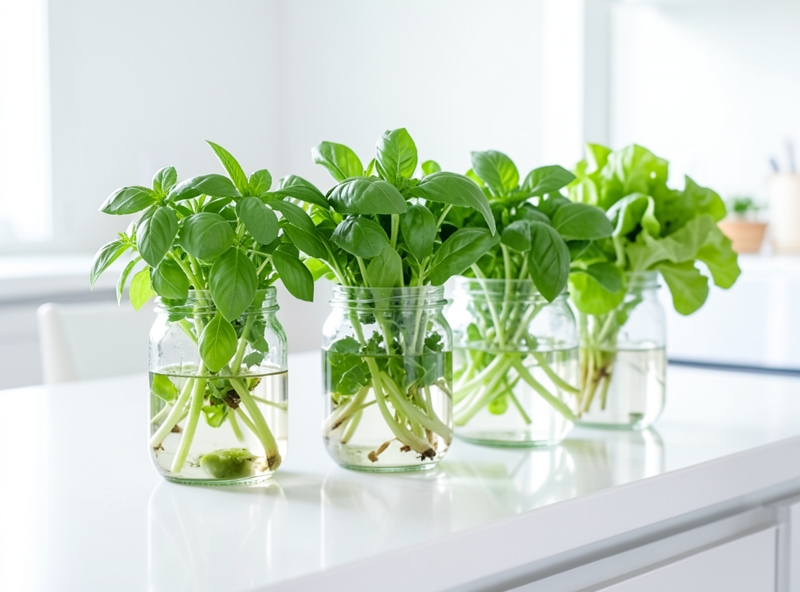
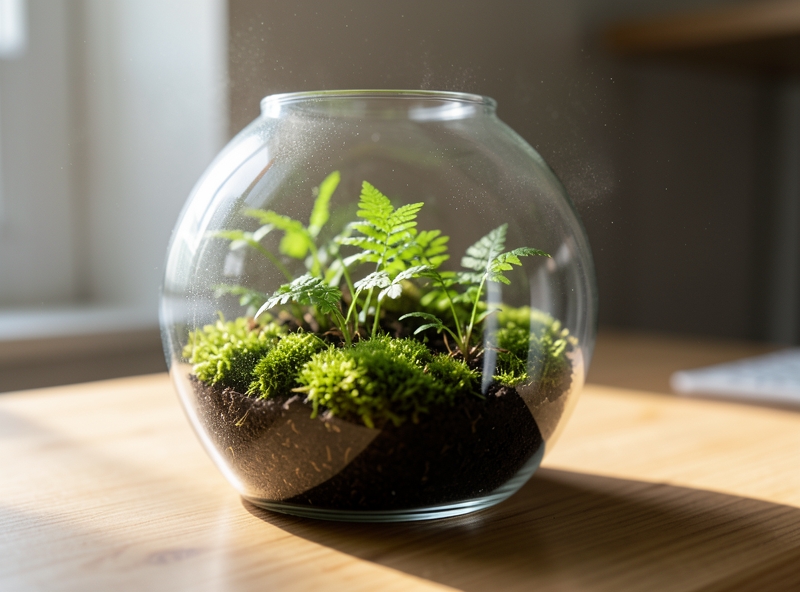
If you're looking for a green "vibe" to heal your soul after stressful deadline hours but are too lazy to water plants, then a Terrarium is your "true love." To put it simply, a Terrarium is the art of arranging greenery inside glass containers. But don't mistake it for just sticking a few branches in a jar; this is a true micro-ecosystem, where nature operates according to a perfect script.
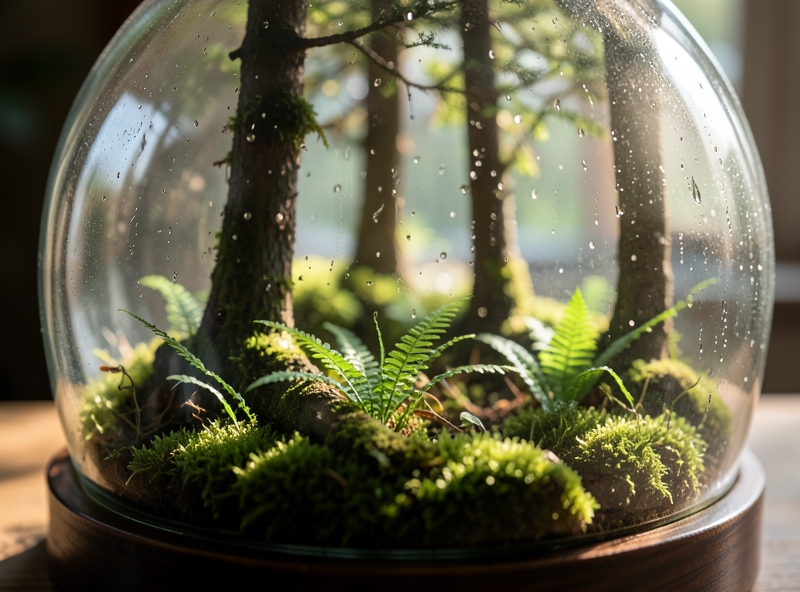
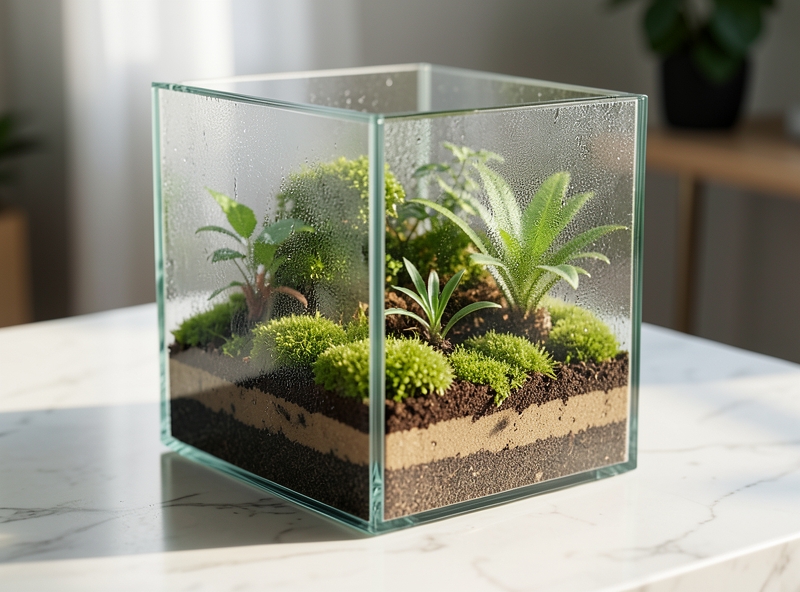
The "selling point" of this hobby lies in Closed Terrariums. You will own a mini tropical forest "packaged" inside a sealed jar. It might sound illogical but it's incredibly convincing: inside that glass layer is an independent survival cycle. Water evaporates from the leaves, condenses on the walls of the jar, and then seeps back into the soil like tiny rain showers. Combined with the process of photosynthesis, this ecosystem self-regenerates oxygen and nutrients, turning it into a resilient living entity that doesn't need much human intervention.
"A Terrarium isn't just decoration; it's how we reconnect with Mother Nature within an area only the size of a palm."
For the Gen Z generation living in apartments or urban "matchboxes," a Terrarium is more than just decor. It is a powerful visual therapy solution. The feeling of watching lush green moss patches and tiny ferns grow day by day brings an indescribable sense of peace. Furthermore, the personalization of a Terrarium is very high; you can completely "custom" your forest with pebbles, small statues, or your favorite plants to assert your own aesthetic taste.
| Characteristics | Closed Terrarium | Open Terrarium |
|---|---|---|
| Suitable Plants | Moisture-loving plants (Moss, ferns, fittonia...) | Dry-loving plants (Succulents, cacti...) |
| Humidity | Always high and stable | Dry, well-ventilated, good drainage |
| Maintenance Level | Very low (Water once every few months) | Medium (Regular weekly watering) |
| Decorative Vibe | Mystical tropical forest | Minimalist, modern desert |
The rise of the "Biophilic Design" trend has taken Terrariums to a new level. You don't need a large garden to enjoy the feeling of "unboxing" nature every day right at your desk. This is a stylish green living statement: compact, smart, and deeply personal.
2. Basic Materials and Tools Preparation for Beginners
Don't let the shimmering appearance of these "miniature forests" fool you; a proper Terrarium actually requires an extremely logical internal operating system. Before you start "flexing" your personal style through every leaf, you need to "unbox" and carefully check the list of essential materials below. Skip a step, and your ecosystem could easily fall into an "overthinking" state – otherwise known as root rot and mold!
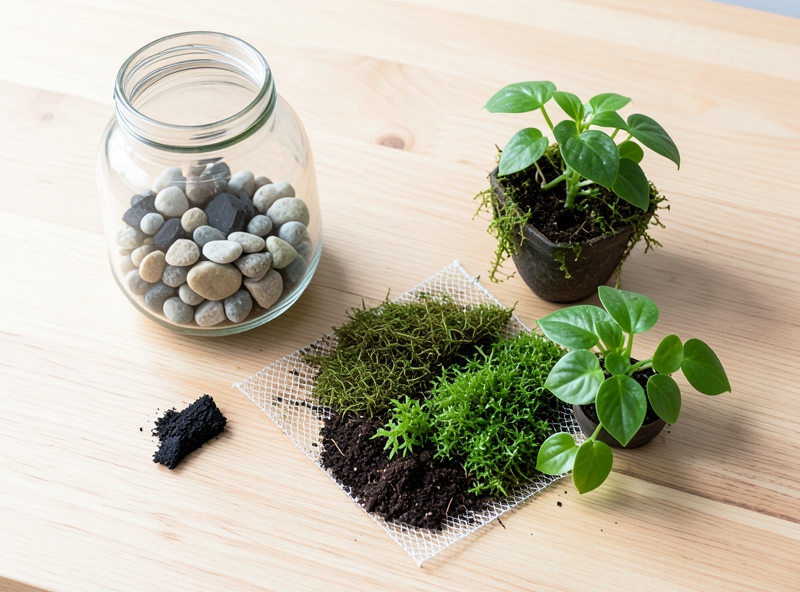
- 1. Glass Container: Must be transparent glass so the plants can "show off" their full visual. For a closed ecosystem, choose a type with a tight-fitting lid to create a perfect water cycle.
- 2. Drainage Layer (Pebbles/Gravel): The bottom layer, which holds excess water, preventing the plants from "suffocating" due to waterlogging.
- 3. Activated Carbon: A mini "air purifier" that helps deodorize, prevent bacteria, and keep the water in the container clean.
- 4. Separation Layer (Mesh/Mosquito Netting): Prevents soil from washing down into the gravel layer, keeping the layers sharp and aesthetic.
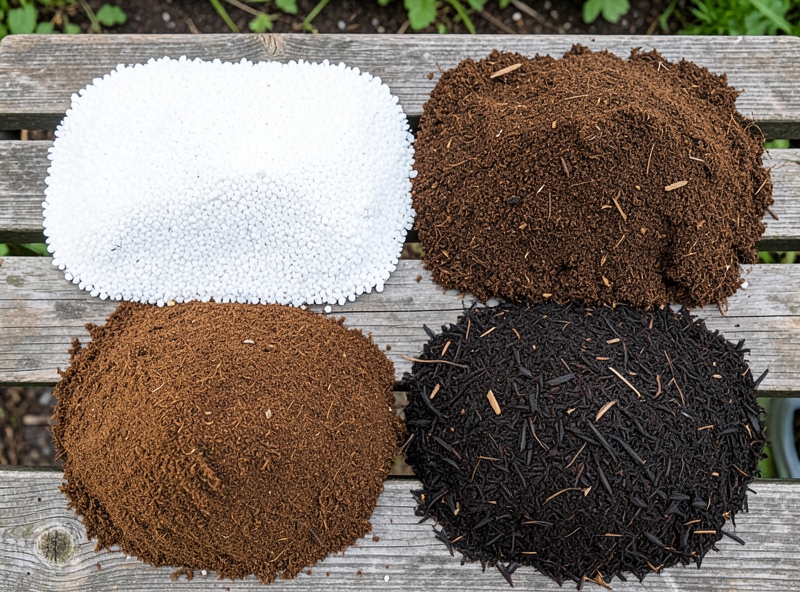
- 5. Specialized Potting Soil: Usually clean soil mixed with coco coir and Perlite to ensure aeration and just enough moisture retention.
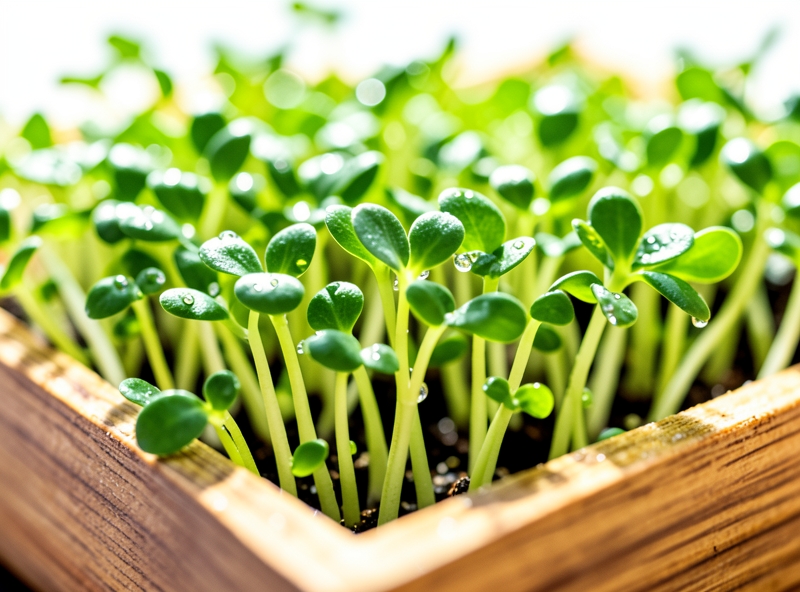
- 6. The "Cast" of Plants: Green moss, small ferns, or Nerve plants (Fittonia) are perfect choices because they are extremely "vibe-heavy" and moisture-loving.
- 7. Decorative Accessories: Mini figurines, landscape stones, or colored sand to create a unique story for your work.
To help you easily visualize the "top-tier" structure of a Terrarium, look at the role analysis of each layer right below. Each component is an inseparable link in this "biological machine":
| Component (Layer) | "Vital" Role |
|---|---|
| Gravel/Stone Layer | Creates drainage space, preventing plant roots from direct contact with standing water which causes rot. |
| Activated Carbon | Filters toxins and eliminates odors arising from organic decomposition in a closed environment. |
| Separation Mesh | Prevents soil from washing down into the drainage layer, maintaining a beautiful stratified structure. |
| Potting Soil | Provides nutrients and serves as a "home" for roots to anchor and grow stably. |
| Plants & Accessories | Creates the main visual, performs photosynthesis, and establishes a sustainable ecosystem. |
"Gardening in a jar is not just about planting; it's how you design a miniature universe in your own style. Don't be afraid to mix-and-match types of moss and stones to create a unique 'vibe'."
Thorough preparation right from the material stage is the key to avoiding having to "rescue" your plants after a few weeks. Once the layers are ready, all that's left is to pour your soul into the arrangement process and enjoy the "healing" feeling that greenery brings.
3. 5-Step Process to Set Up a Self-Sustaining Ecosystem
Creating a "miniature universe" in a glass jar is more than just putting plants in soil. It is a calculated art of arrangement so the ecosystem can become self-sufficient. Start your life "decor" journey with this standard 5-step process, ensuring both aesthetics and sustainability.
Step 1: Clean & Clear – Cleaning the Container
Don't let fingerprints or dust ruin the "visuals" of your masterpiece. Clean the glass jar thoroughly with clean water or diluted alcohol. An absolutely transparent jar not only helps plants photosynthesize better but also ensures you get the sharpest "aesthetic" photos.
Step 2: Layering – The Art of Material Layering
This is an extremely important "foundation" to avoid root rot. You need to stack the layers in order from bottom to top:
- Drainage Layer: Gravel, pebbles, or expanded clay (perlite) to prevent water from stagnating at the bottom.
- Separation Layer: A thin layer of mesh or dried moss to prevent soil from falling into the gravel layer.
- Filtration Layer: Activated carbon – the "savior" that helps deodorize and eliminate bacteria for the closed environment.
- Substrate Layer: Use specialized Terrarium soil (usually a well-aerated soil mix).
Step 3: Landscape Shaping – Surface Contouring
Instead of leaving the ground boring and flat, add depth by mounding hills or creating valleys. Use specialized tweezers or a long spoon to lightly compress the soil, creating natural geometric shapes. A little slope will make the jar look more like a true slice of nature.
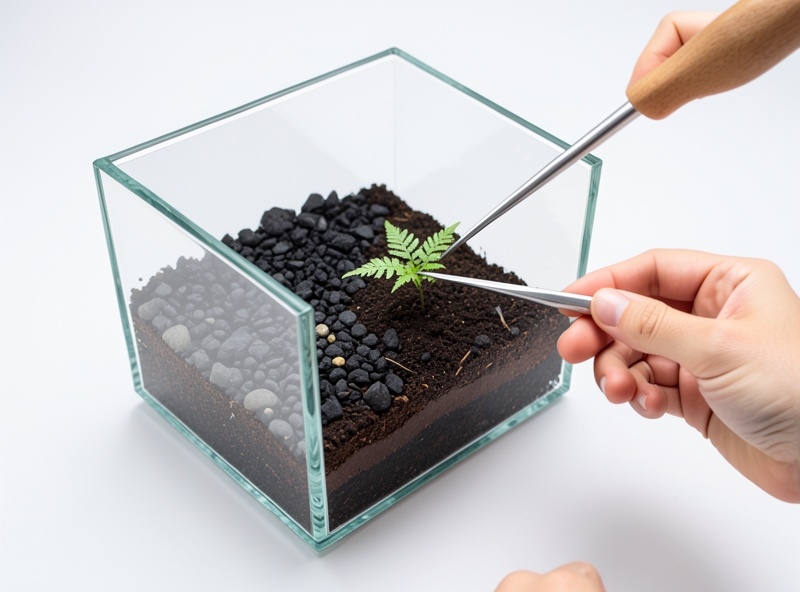
Step 4: Planting & Decor – Planting Techniques and Arrangement
Use long tweezers to place plants into their calculated positions. The golden rule is: Tall plants in the back, short plants in the front. Prioritize moisture-loving plants like moss, ferns, and nerve plants (Fittonia). After planting, add a few pebbles, driftwood, or mini models to create a personal touch. Don't be too greedy with details; leave space for the plants to "breathe" and grow.
"A perfect ecosystem is not when there is nothing more to add, but when there is nothing left to take away."
Step 5: Moisture Control – Controlling Humidity Before "Sealing"
This is the decisive step for survival. Use a spray bottle to gently mist the walls of the jar and the moss surface. Note: The soil only needs to be moist, not waterlogged.
| Sign | Humidity Status | Solution |
|---|---|---|
| Jar walls are completely dry | Lack of water | Spray 2-3 more mists. |
| Light condensation in the morning | Ideal humidity | Close the lid and enjoy. |
| Water streaming down the jar walls | Excess water (Dangerous) | Open the lid for 24 hours to let moisture escape. |
After balancing the humidity, close the lid. At this point, the water cycle will begin: Plants transpire -> Condense on the jar walls -> Flow back down into the soil. Congratulations, you officially own a chill and stylish mini "green office"!
4. How to Care for and Maintain Your Terrarium's Balance
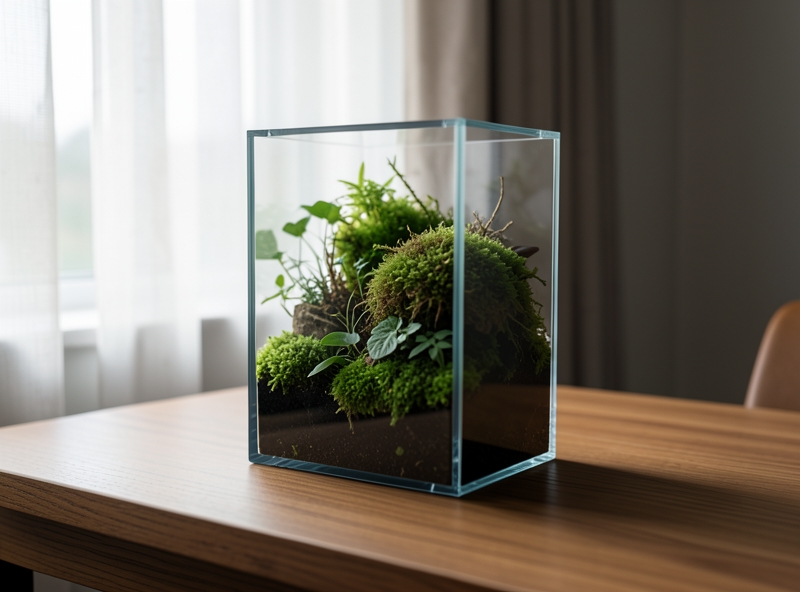
Growing a Terrarium isn't just about putting plants in a jar; it's about maintaining an artistic miniature "universe." To keep your Terrarium baby looking "slay" and developing sustainably, mastering the balance rules below is the most important step after unboxing.
Placement is the survival factor. The golden rule: Indirect light is your best friend. Never place your Terrarium under direct, harsh sunlight. The glass will amplify the temperature, turning the jar into a literal "microwave" and scorching the moss or sensitive plants inside. A desk corner near a window with curtains or a spot with specialized LED lighting will be the ideal coordinates for your ecosystem to chill the most.
Watering a closed Terrarium is a game of observation. Instead of watering on a fixed schedule, learn to "read" the condensation on the glass walls:
- Perfect State: A thin layer of light mist appears on the glass in the morning and disappears during the day. This is a sign that the ecosystem is breathing steadily.
- Over-watered: The glass walls are always covered in heavy water droplets, obscuring the view. In this case, open the lid for about 30 minutes to 1 hour to let excess moisture escape.
- Under-watered: The glass is bone dry and the moss looks dull. Use a spray bottle to mist gently to replenish moisture, avoiding pouring water directly which can cause root rot.
"A Terrarium is a self-balancing ecosystem; your job is not to over-care, but to be a subtle observer to keep the rhythm of life inside stable."
In the initial phase (about the first 2-4 weeks), the ecosystem will go through an "acclimatization" period with its new environment. This is when white mold can easily appear because the humidity hasn't reached an equilibrium threshold. Don't worry too much; use a cotton swab dipped in alcohol to gently wipe it away or remove the affected leaves. At the same time, maintain a pruning habit. When you see leaves starting to touch the glass or growing too long and ruining the layout, use specialized scissors to "trim" them gently to keep the composition aesthetic and airy.
Finally, don't forget to clean the glass regularly. A crystal-clear jar not only helps the plants photosynthesize better but is also a prerequisite for those "thousand-like" aesthetic photos on Instagram.
5. Frequently Asked Questions (FAQ) about Closed Ecosystems
Embarking on the journey of Terrariums (closed ecosystems) is like taking care of a "miniature universe." It might feel a bit unfamiliar at first, but don't worry—the modern gardening "vibe" is all about being both chill and scientifically sound. Below are the "classic" questions that every newbie encounters, decoded concisely so you can confidently master your green space.
Q: Why is the jar foggy? It looks like it's in the misty highlands!
A: Condensation on the walls of the jar is a sign that the water cycle is functioning. However, if the fog is so thick that you can't see the plants all day, it's a sign of excess moisture. Conversely, if the jar is bone dry, you need to add water. A "healthy" jar is usually only lightly misty in the morning and crystal clear during the day.
Q: How often should I water it? Do I need to water every day?
A: "Less is more"! In a closed ecosystem, watering every day is a huge "red flag." Depending on how airtight the jar is and the type of plants, you might only need to water once every 4-6 months, or even once a year. Use a misting spray when you see the soil turning pale or the leaves looking slightly wilted.
"In a closed ecosystem, balance is more important than intervention. Learn to observe before you act."
Q: Should I use fertilizer to make the plants grow faster?
In the world of Terrariums, we want plants to live sustainably, not to grow too "bulky" too quickly and break the original layout. Fertilizing is usually unnecessary because microorganisms in the soil already handle the task of decomposing organic matter. If desired, you should only use a highly diluted foliar fertilizer every 6 months.
Q: Why are the leaves turning yellow or having black spots?
Don't panic, these are "signals from the universe" indicating that the ecosystem is facing an issue:
- Yellow and mushy leaves: A sign of overwatering and waterlogged roots. Solution: Open the lid for 1-2 days to allow excess moisture to evaporate.
- Black spots/White mold: High humidity combined with a lack of air circulation breeds mold. Solution: Use a cotton swab dipped in alcohol to gently wipe the mold spots and remove damaged leaves immediately.
- Burnt, dry yellow leaves: The plant is under heat "stress" due to being placed directly under harsh sunlight. Move the jar to a place with indirect light (near a window or under an LED light).
| Issue | Cause | Quick Fix |
|---|---|---|
| Waterlogged jar | Overwatering | Use absorbent paper to soak up excess water from the gravel/soil layer. |
| Leggy, stunted plants | Lack of light | Increase photosynthetic lighting or place closer to a light source. |
| Brown/Dry moss | Lack of moisture | Mist directly onto the dry moss area. |
Caring for a Terrarium is not just a hobby, but a way to practice patience and aesthetics. Just by mastering these basic principles, your "little universe" will always stay lush and extremely "Instagrammable."