1. Soil Trends 4.0: Why Do You Need a Professional Potting Mix Formula?
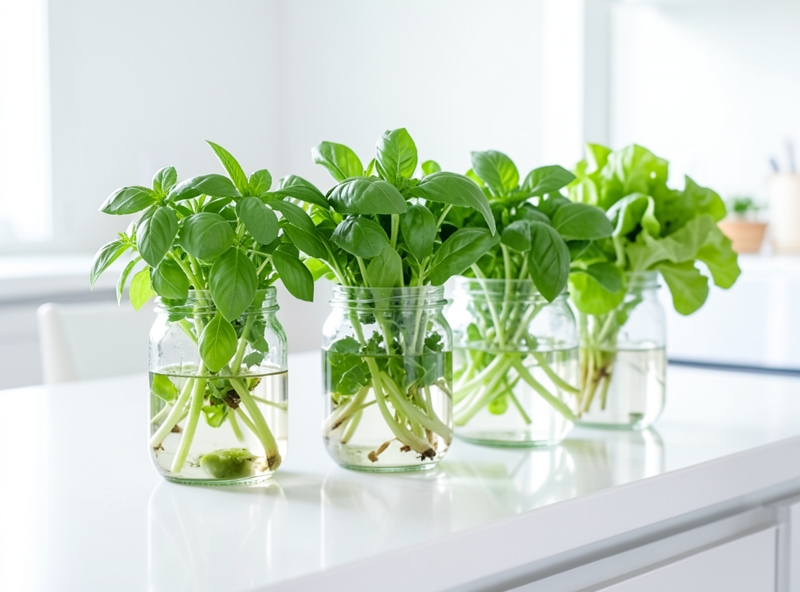
Gone are the days of "digging up a handful of dirt from the garden" to plant trees. For us Gen Z folks, gardening isn't just about growing plants; it's a lifestyle, a perfect way to "heal" and chill after stressful hours of chasing deadlines. To have a balcony view that "everyone loves" or lush green check-in corners in a studio apartment, we can't use traditional agricultural thinking. Soil 4.0 – also known as smart substrates – is the new "soulmate," shifting completely from using heavy topsoil to sophisticated, lightweight, and extremely "aesthetic" potting mixes.
| Criteria | Traditional Garden Soil | 4.0 Potting Mix Substrate |
|---|---|---|
| Weight | Heavy, prone to compacting in pots. | Ultra-lightweight, breathable, protects balcony structures. |
| Nutrition | Random, difficult to control. | Specially "designed" based on the needs of each plant type. |
| Cleanliness | Potential for pathogens, bacteria, and weeds. | Processed, pathogen-free, safe for indoor use. |
Why do we have to "gear up" for soil professionally instead of just buying any random bag of dirt from the market? The answer lies in proactivity. Self-mixing or using a specialized formula gives you full control over your plant's "skincare routine." You will know exactly the amount of nutrients (like counting calories in a meal), ensuring perfect drainage so the root system doesn't "suffocate" – the leading cause of why those expensive succulents or Monsteras "pass away" in regret.

Particularly in urban environments lacking natural sunlight and wind, a professional mixing formula will thoroughly solve 3 tough problems:
- Nutrient Control: Potted plants have limited living space. A standard formula will provide enough "food" for a long time without causing root burn.
- Aeration: Mixing in components like Perlite, Pumice, or pine bark helps create small air pockets in the soil, allowing plant roots to "breathe" as easily as if they were in the middle of a primary forest.
- Pathogen Elimination: Modern substrates like Peat moss or processed coco coir help completely eliminate mold and insect eggs. You will no longer have to deal with fruit flies or bugs flying around your living room.
"Choosing potting soil is like choosing a foundation when doing makeup: It must be the right tone and skin-compatible for the finish to be 'glowy' and sustainable!"
Investing in a professional mixing formula is not just about upgrading your plant care experience, but also a way for you to express your personality and attention to detail in every small aspect of your living space. When you master the soil foundation, owning a "Pinterest-perfect" garden is completely within your reach.
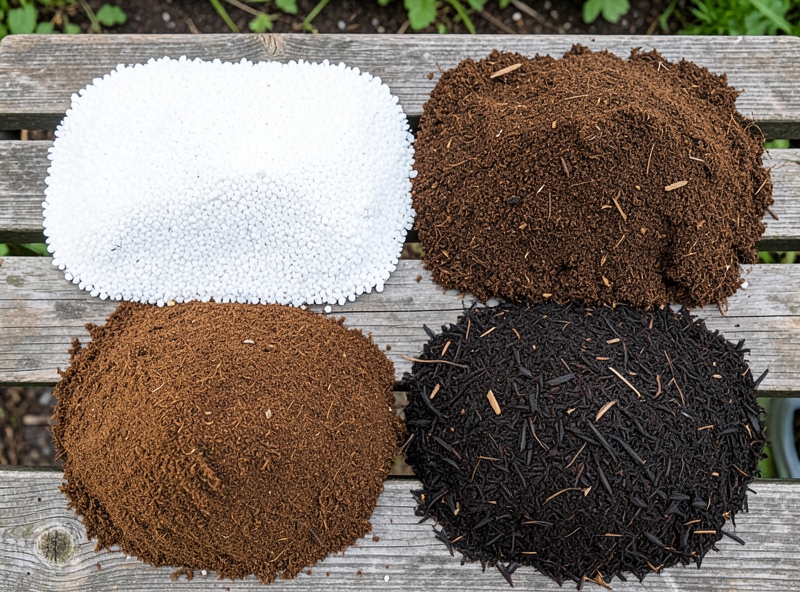
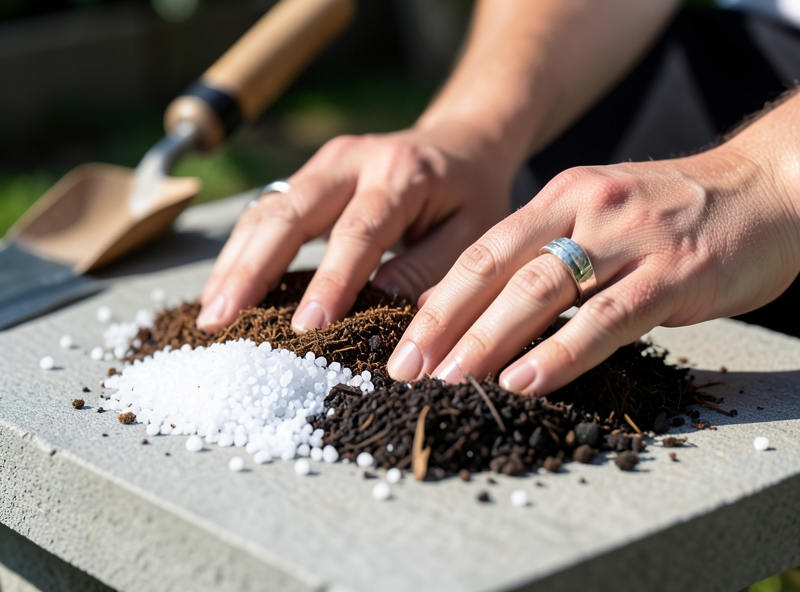
2. Decoding the core trio: Perlite, coco coir, and organic fertilizer
If you're dreaming of a perfect "aesthetic garden" straight out of Pinterest, understanding the "personality" of each potting medium component is the first step toward becoming a true plant parent. It's not just soil; it's a calculated blend of technique and green living experience.
| Component | Main "Vibe" | Technical Function |
|---|---|---|
| Perlite | The breath of the earth | Creates air pockets, prevents compaction, and supports ultra-fast drainage. |
| Coco Coir | Soft moisture cushion | Maintains ideal moisture levels and creates a porous structure for the root system. |
| Organic Fertilizer | The "Superfood" source | Provides humus, beneficial microorganisms, and sustainable nutrition. |
Perlite is often compared to the "popcorn" of the gardening world. With a porous structure resulting from thermal expansion, Perlite not only makes pots lighter (a big plus for the apartment balcony gardening community) but also creates oxygen spaces. This helps plant roots "breathe" easier, preventing root rot—the ultimate nightmare for every newbie.
Meanwhile, coco coir acts as the "butler" regulating water. Its ability to hold water many times its own weight prevents plants from getting "stressed" by thirst in the scorching sun. However, don't be quick to "unbox" raw coco coir and mix it directly into the pot; you'll cause your plant to be "ghosted" early because the astringent substances (Tannin and Lignin) in untreated coco coir will cause roots to blacken and stunt growth.
"A good potting medium isn't just a place for roots to cling to; it's a miniature ecosystem that helps plants confidently 'flex' their most natural beauty."
For coco coir to be truly "clean" and safe, the processing steps must be carried out thoroughly. You need to soak the coco coir in clean water for about 2-3 days to remove Tannins (observe the soaking water turning reddish-brown). Afterward, continue soaking with limewater to flush out Lignin—a difficult-to-decompose substance that can cause root suffocation. Once the coco coir has been rinsed again with fresh water and squeezed dry, that's the moment it's ready to "mix & match" with other components.
The final piece of the puzzle is organic fertilizer (such as vermicompost, processed chicken manure, or compost). This is a precious source of "probiotics," bringing a rich microbial system that keeps the soil vibrant and full of energy. Instead of using chemical fertilizers that cause "heat shock," organic fertilizer helps plants grow sustainably, creating lush green leaves and the most perfect form.
- Perlite: Ensure a ratio of about 20-30% to optimize aeration.
- Coco Coir: Accounts for about 40-50% as a solid moisture-retaining base.
- Organic Fertilizer: About 20% to provide "just enough" nutrition without burning the roots.
3. The 'Lightning-Fast Drainage' Formula for Succulents
If you've ever experienced the "heartbreak" of seeing your beloved succulent suddenly "fade away" due to root rot after a rainy night, then this is the "lifesaver" for you. For Gen Z, gardening isn't just about growing plants; it's a "decor" experience for your living space and a way to heal the soul. To keep your succulent "babies" plump and on-trend, the secret lies in a top-tier soil mix formula with drainage faster than an ex turning their back on you.
"Don't let your plants 'drown' in the wrong kind of care. A healthy root system starts with a well-ventilated substrate."
To optimize aeration, we need a "golden" ratio that ensures the criteria: light - airy - nutrient-rich. Forget those bags of jet-black, sticky soil; this is the real deal:
| Ingredient | Ratio | Vibe & Function |
|---|---|---|
| Perlite | 50% | Classy white grains, creates air pockets, ultra-fast drainage. |
| Coconut Coir (Treated) | 30% | Retains just enough moisture at a "soft-chill" level, no waterlogging. |
| Organic Fertilizer (Worm Castings/Cow Manure) | 20% | Internal "skincare" source that helps plants grow fast and brings out vibrant colors. |
Why does Perlite take the "spotlight" at 50%? In the world of succulents, breathability is the key to survival. Rocks like Perlite create empty spaces in the soil, allowing oxygen to easily reach every root fiber. Increasing the perlite ratio not only prevents soil compaction but also completely eliminates the worry of root rot—the #1 enemy of succulents and cacti.
When you mix this exact ratio, the soil will feel incredibly loose and dry to the touch. This is the ideal "dry and airy" environment for your succulents to confidently show off their shape under the sun. A few small tips for "newbies":
- Sift the dust: Don't forget to sift the Perlite to remove fine powder, making the pot look cleaner and more professional.
- Check drainage: After mixing, try pouring water in; if the water drains away immediately within 3-5 seconds, you've "mastered" it!
- Decor layer: Top it off with a layer of Vermiculite or volcanic rock to increase aesthetics and keep the leaves from direct contact with damp soil.
Mixing your own soil not only helps you understand the "personality" of each plant but is also a very effective "stress-relief" therapy after stressful hours working at the computer. Try this formula now to see the difference in your garden's "glow-up" speed!
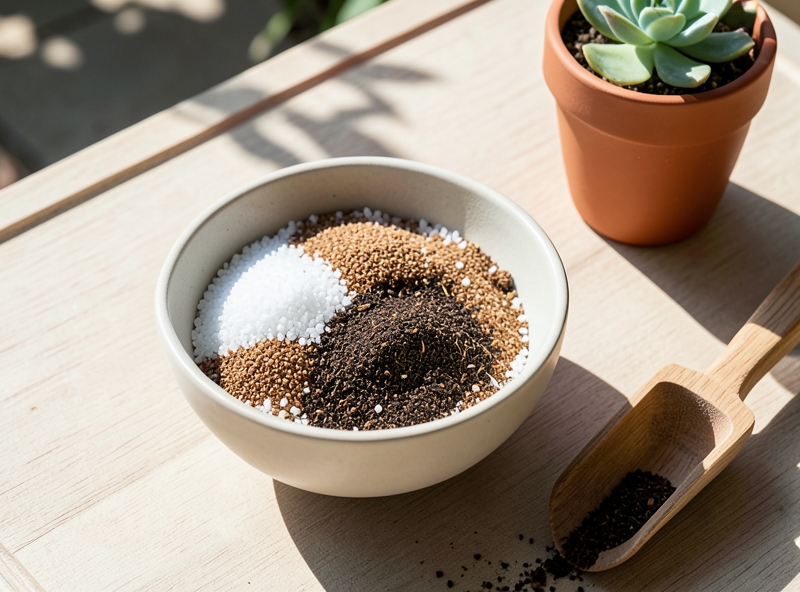
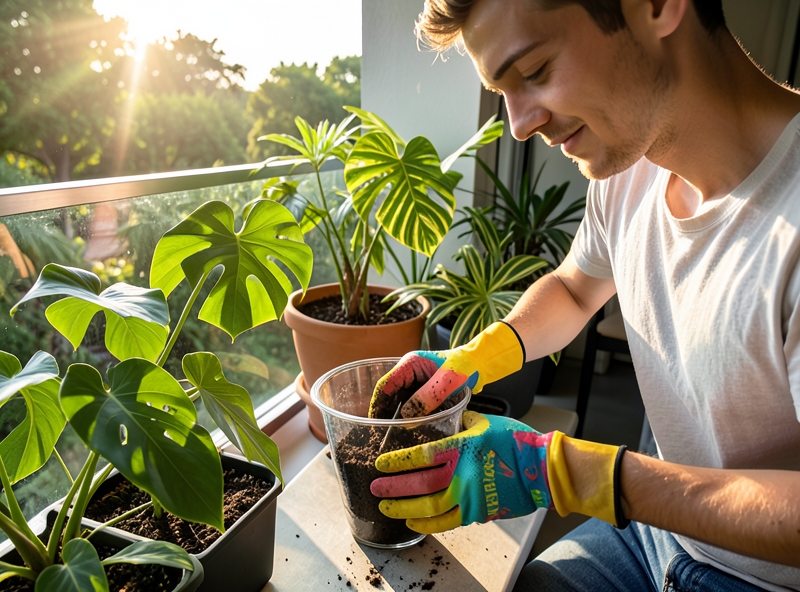
4. 'Sustainable Nutrition' Formula for Colorful Foliage and Ornamental Plants
If you're pursuing the "Urban Jungle" lifestyle or simply want your Calathea, Philodendron, or Monstera babies to stay "slay" with sharp leaf patterns, don't miss out on this "holy grail" potting mix formula. This isn't just soil; it's an intensive "skincare" treatment that keeps the root system in its most pampered state.
| Component | Ratio | "Vibe" brought to the plant |
|---|---|---|
| Coco Coir (Treated) | 40% | Provides long-lasting moisture, keeping leaves plump and preventing edge burn. |
| Perlite | 30% | Creates "next-level" aeration, preventing root rot. |
| Worm Castings / Organic Fertilizer | 30% | A slow-release "healing" nutrient source, helping leaf pigments become deep and vibrant. |
The key to this formula lies in its ability to retain moisture without becoming sticky. Coco coir acts like a mini "water bank," providing continuous hydration to maintain the characteristic pigments of colorful foliage. Meanwhile, 30% Perlite provides essential breathing spaces, allowing the root system to weave through and grow strongly without fear of being "suffocated" by soil pressure.

"Caring for colorful foliage is not just about providing water; it's about creating a sustainable ecosystem right inside a small pot so that every new leaf that unfurls is a masterpiece."
When applying this ratio, you will notice a significant change after about 2-3 weeks. The roots will be pearly white and firmly attached to the Perlite particles, paving the way for new leaves that are larger, glossier, and especially the variegated patterns or purple, red, and silver pigments will appear sharp and perfect, as if they just came out of the best Instagram filter.
- Pro-tip for Gen Z: Make sure the coco coir has been thoroughly rinsed (low EC) to avoid "shocking" sensitive root systems.
- Experience: The feeling of touching this airy, feather-light potting mix is truly "healing" and highly aesthetic.
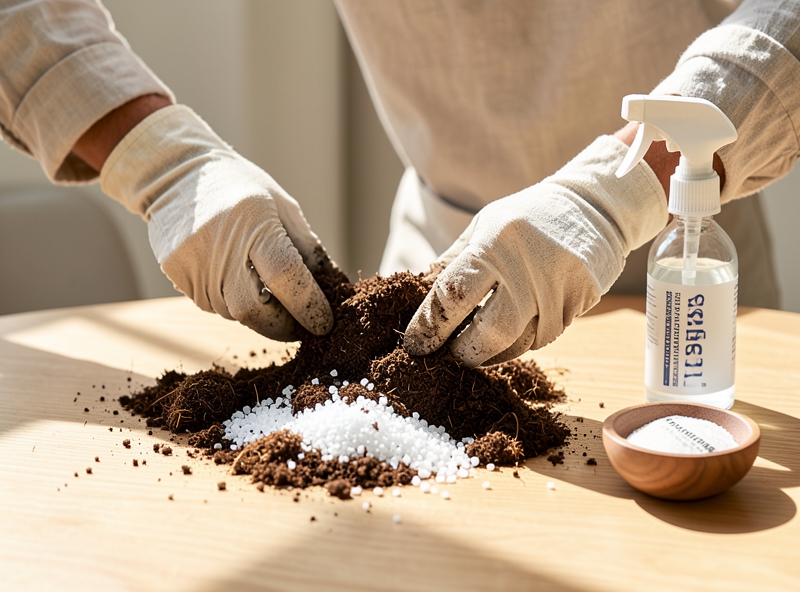
5. Professional Potting Mix Blending and Storage Techniques
To achieve a top-tier "visual" for your ornamental plants that’s perfect for social media, you first need to take care of the "inner self" – the potting medium. Don't just dump everything in and stir it like a salad. To reach a professional level like major nurseries, blending potting mix requires a thorough "skincare" routine to ensure it is airy, nutrient-rich, and pathogen-free.
Below is the "standard" 5-step process to create a "royal vibe" potting mix for your beloved plants:
- Step 1: Pre-treatment and Cleaning: Ensure components like coconut coir and pine bark have been leached of tannins, and Perlite is free of fine dust. This is an important "makeup removal" step to eliminate impurities.
- Step 2: Dry Mix (The Golden Ratio): Place dry ingredients on the mixing mat according to the appropriate ratio for each plant type (usually 3 parts soil : 3 parts aeration agents : 3 parts organic fertilizer : 1 part additives). Dry mixing helps the particles distribute most evenly before meeting water.
- Step 3: Adding Biological "Vaccines": Sprinkle Trichoderma antagonistic fungi into the mixture. This is the "immune system" that helps destroy root rot pathogens while supporting the decomposition of remaining organic matter into easily absorbable nutrients.
- Step 4: Mist Hydration: Use a spray bottle to slowly mist the mixture while blending. Absolutely do not pour water in all at once. The standard moisture level is when you squeeze a handful of the mix and it clumps together without water leaking through your fingers, and when you release your hand, the soil ball crumbles slightly.
- Step 5: Aeration Incubation: Let the potting mix rest for about 24-48 hours before planting so the microbial system can activate its best working state.
"Potting medium is not just soil; it is a miniature ecosystem. Investing in the medium is the smartest way to save on the cost of buying medicine to treat plant diseases later."
After putting in the effort to get an "on top" batch of premium potting mix, storage must also be "on point." Many people have the habit of leaving soil bags in a corner, causing nutrients to evaporate or mold to invade, which is extremely wasteful.
To store your potting mix without it "losing its quality," follow these rules:
| Factor | Gen Z Standard Storage | Effect |
|---|---|---|
| Container | Use opaque plastic bins with tight lids or dark-colored zip bags. | Prevents UV rays from killing microorganisms and maintains stable humidity. |
| Temperature | Keep in a cool, dry place, avoiding direct sunlight from "Mr. Sun." | Keeps organic fertilizer from degrading or fermenting due to excessive heat. |
| Time | Best used within 3-6 months after mixing. | Ensures nutrient content and antagonistic fungi density are at their highest levels. |
Final note: Every time you open a stored bag of potting mix, stir it lightly to circulate air and wake up the microbial "warriors" before putting it into the pot. Gardening is not just about getting your hands dirty; it's a tasteful and responsible lifestyle!
6. Frequently Asked Questions (FAQ)
Whether you're a "newbie" who just joined the plant scene or a seasoned "plant parent," dealing with the mess of growing media always brings up some tough questions. To keep your balcony garden looking "slay" and picture-perfect, let's decode the questions that Gen Z "inboxes" most often!
Q: I'm "out of budget" for new soil, can I reuse my old growing media?
Absolutely, but never bring that exact old "vibe" to a new seedling. Old media is usually depleted of nutrients and accumulates many potential pathogens. To "rehab" it, you need to sift out excess roots, then expose it to harsh sunlight or treat it with lime/boiling water to kill bacteria. Finally, "mix & match" about 30-40% new components like vermicompost or Perlite to regain that divine fluffiness.
"Reusing growing media is like your skincare routine after a long day – you have to deep clean and hydrate for the (plant's) skin to be glowing!"
| Weather Factors | "Level Up" Adjustment Formula | Core Objective |
|---|---|---|
| Rainy Season / High Humidity | Increase Perlite, Pumice, or coal slag by 20-30%. | Ultra-fast drainage, avoid root rot. |
| Harsh Sunny Summer | Add more Peat moss or coco coir. | Retain moisture longer, protect plants from "wilting." |
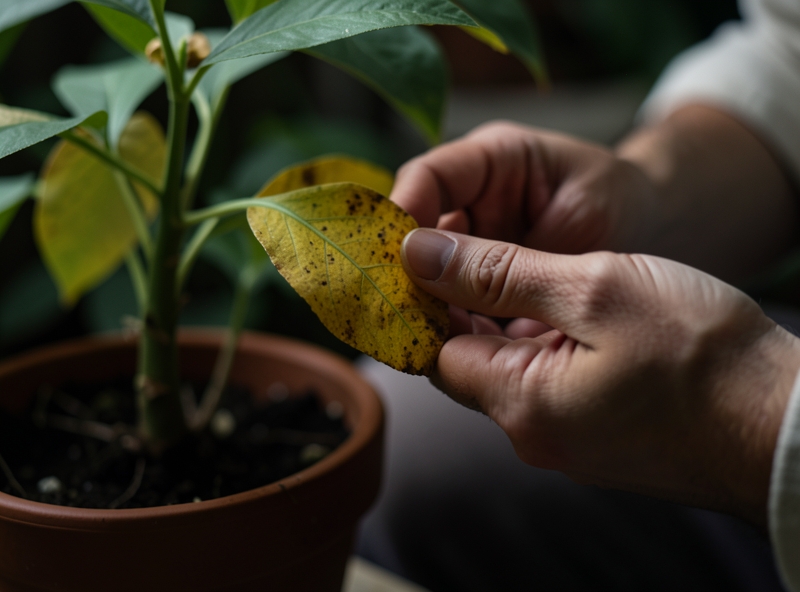
Q: How do I know if the growing media is "expired" and needs immediate replacement?
Don't wait until the plant "fades away" to realize it. There are 3 "red flag" signs you need to check immediately: First, the media is heavily compacted, water won't soak in or it puddles on the surface. Second, the appearance of a sour smell, mold, or green moss covering the surface. And finally, if you see the plant suddenly go on strike, not producing new leaves despite regular fertilizing, that's the time to "say goodbye" to the old soil.
Q: Is there a "national" growing media formula that works for all types of plants?
In reality, there is no 100% perfect "one size fits all" formula, but you can start with the golden ratio for aeration: 40% substrate (Coco coir/Clean soil) + 30% aerating agents (Perlite/Pumice) + 20% organic matter (Vermicompost/Cow manure) + 10% other additives (Eggshells/Charcoal). From this foundation, depending on the specific "high" of each plant type, you can fine-tune it accordingly.
- Quick Tip: Always check the moisture by hand before deciding to water to understand the "personality" of the media you've mixed.
- Personal Style: You can add a layer of Masato stone or river pebbles on the surface to boost the aesthetic points and keep the plant base clean for "Instagrammable" photos.