1. What is Power Walking? The Ultimate Workout Trend for Joint Protection
Each of your running steps places a force of 3 to 4 times your body weight onto your knee joints and spine. For those who are overweight, have a history of injuries, or are entering middle age, the desire to burn excess fat unintentionally becomes a silent sentence of "wearing down" joint cartilage. Power Walking (Active Fast Walking) emerges as a perfect alternative, completely resolving the paradox: How to maximize calorie expenditure without destroying the musculoskeletal system?
Unlike casual strolling, Power Walking is a sport with clear techniques. This method requires maintaining a fast moving speed of 6.5 to 8.0 km/h, combined with active arm swings at a 90-degree angle and engaging the core muscles. The key point lies in the fact that: When you power walk, at least one foot is always in contact with the ground. This continuous state completely eliminates the "free fall" phase in running, minimizing the impact force from the road surface bouncing back up into the knee, ankle, and hip joints.

"Power Walking is not slow walking. It is a low-impact, high-intensity state of exercise that keeps your heart rate in the optimal fat-burning zone without forcing your joints to endure continuous heavy impacts."
To understand why Power Walking is becoming the new generation's joint protection workout trend, take a look at the performance and physical impact comparison table below:
| Comparison Criteria | Regular Running | Power Walking (Active Fast Walking) |
|---|---|---|
| Pressure on knee joints | Very high (3 - 4 times body weight) | Very low (1.2 - 1.5 times body weight) |
| Energy consumption (Every 60 minutes) | About 500 - 700 kcal (depending on speed) | About 350 - 500 kcal (thanks to full-body activation) |
| Muscle groups involved | Mainly quadriceps, calves | Thighs, glutes, core, shoulders, and biceps |
| Cumulative injury rate | High (plantar fasciitis, patellar pain, shin splints) | Extremely low, supports joint fluid regeneration |
Thanks to this smart movement mechanism, Power Walking possesses an extremely high accessibility and adaptability for all types of practitioners:
- Busy young people: Looking for a high-intensity, fast fat-burning cardio method to stay in shape but wanting to avoid the risk of long-term knee injuries.
- Elderly people or those with reduced bone density: Regular practice helps stimulate bone-building cells to work, increasing bone mineral density without causing joint swelling and pain.
- People in the recovery phase: This is an excellent physical therapy exercise after an injury, helping to restore balance and increase blood circulation to nourish damaged joint cartilage tissue.
By shifting from mechanical running to active Power Walking, you are not only burning excess fat scientifically but also building a "solid shield" to protect your locomotor system over time.
2. Calorie Burn Efficiency Comparison: Power Walking vs. Running
Do you rush into running with the goal of rapid weight loss, only to end up with lingering knee pain and a feeling of exhaustion after just 15 minutes? The misconception that "you have to run vigorously to burn fat" is silently damaging the joints of millions of fitness enthusiasts. The truth is: Power Walking (active fast walking) with proper technique can deliver energy expenditure close to that of running, but at a much gentler cost to your body.
| Comparison Criteria (Per 30 minutes) | Power Walking (Speed: 6 - 8 km/h) | Regular Running (Speed: ~8 km/h) |
|---|---|---|
| Calories burned (70kg person) | ~200 - 250 kcal | ~280 - 320 kcal |
| Impact on knee joints | Low (1.2 - 1.5 times body weight) | Very high (2.5 - 3.0 times body weight) |
| Target heart rate zone | Fat-burn Zone (Optimal fat burning) | Cardio/Aerobic Zone (Endurance training) |
| Joint injury rate | Almost zero | High (Especially knees and ankles) |
Looking at the data, running has a slight edge in terms of pure calories burned within the same timeframe. However, this gap can easily be closed by extending the workout duration. In reality, it is difficult for an average person to sustain running continuously for 45 minutes without running out of breath, but they can comfortably perform Power Walking for a full 60 minutes thanks to an intelligent pacing mechanism.
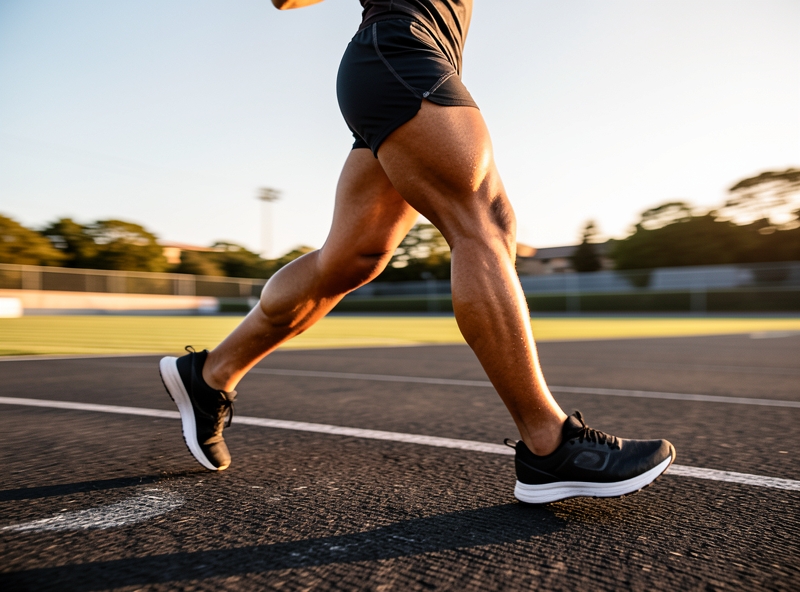
"The core difference lies in the flight phase. When running, both of your feet leave the ground. Upon landing, your entire body weight crashes down on one leg, creating a massive mechanical shock to the knee joint."
The force impact mechanism is the key to Power Walking's superior safety. By adhering to the rule of always keeping at least one foot on the ground, you completely eliminate the risky "flight phase" of running. The continuous shifting of center of gravity from heel to toe during fast walking acts as a natural shock absorption system.
Biomechanical analysis indicates that this continuous ground contact mechanism helps reduce the load on knee joints by up to 1.5 times body weight per step compared to running. For a person weighing 70kg, this means freeing your legs from pressure equivalent to over 100kg of excess load with every stride. Consequently, you can accumulate a higher volume of exercise, burn body fat more sustainably, and avoid workout interruptions from persistent joint inflammation or muscle tears.
3. Precise Power Walking Technical Guide from Experts
Most people mistakenly believe that Power Walking is simply walking faster than normal. This disastrous mistake not only leaves you quickly exhausted and suffering from knee pain but also neutralizes up to 80% of fat-burning efficiency. To turn every step into a natural calorie-burning machine, you need to master your body through the 4 sports-medicine-standard technical pillars below.
"In Power Walking, your body is a closed mechanical lever system. Just a 5-degree deviation in the neck or hips, and the entire pressure will shift onto the joints instead of activating fat-burning muscle groups."
To achieve optimal performance, strictly apply the technical instructions from high-performance coaching experts:
- Golden Spinal Axis (Head and Back Posture): Always keep your eyes looking straight ahead about 3 - 5 meters, do not tuck your chin down to your chest to avoid putting pressure on the cervical spine. Keep your shoulders relaxed, pulled slightly back and down. Imagine an invisible string pulling the crown of your head straight up to the sky, keeping the spine completely natural and releasing pressure from the lower back area.
- Activate the Arm "Engine" (90-degree bend angle): The arms are the control mechanism for the speed of your legs. Bend your elbows at a fixed angle of exactly 90 degrees. Swing your arms rhythmically along the front-back axis (do not swing diagonally across the chest). When moving forward, your hand should not go past the sternum; when moving backward, your hand should touch the hip. This movement creates a powerful torque that naturally propels the body forward without straining the leg muscles.

- "Heel - Sole - Toe" Landing Technique: Absolutely do not land flat-footed or on your toes, as this will cause shin splints. Place your heel down first, roll your body weight smoothly through the sole of your foot, then use force from your toes (especially the big toe) to push off powerfully forward. Short but quick and decisive strides are much safer than trying to take excessively long strides.
- Mastering Breath and Fat Burn Zone Heart Rate: For excess fat to convert into energy, the body needs oxygen. Apply a rhythmic breathing cycle: inhale through your nose for 3 steps and exhale fully through your mouth for 3 steps. At the same time, maintain your heart rate in the Fat Burn Zone (about 60% - 70% of your maximum heart rate - calculated by the formula:
(220 - age) x 0.6to0.7). In this heart rate zone, the body prioritizes using stored fat as the primary fuel instead of glycogen in the muscles.
To clearly see the outstanding difference in performance, observe the movement mechanics comparison table below:
| Technical Metrics | Casual Walking | Expert-Standard Power Walking |
|---|---|---|
| Average Heart Rate | Below 50% of maximum heart rate (Recovery zone) | 60% - 70% of maximum heart rate (Optimal fat burn zone) |
| Calorie Expenditure | About 200 - 250 kcal/hour | Up to 350 - 450 kcal/hour (Equivalent to light jogging) |
| Activated Muscle Groups | Mainly quadriceps and calves | Full body: Glutes, hamstrings, core, and shoulder-chest muscles |
| Impact on Knee Joints | Low | Very low (Thanks to the foot-rolling technique neutralizing impact forces) |
By changing even the smallest details, such as the angle of your arms or the contact point of your feet, you will immediately feel your body lighter, your propulsion speed faster, and your sweat pouring more effectively within the first 10 minutes of application.
4. Habit-Building Roadmap and Training Performance Optimization
90% of beginners give up within the first 3 weeks not because they are lazy, but because they fall into the trap of "temporary excitement". Rushing into training with 200% energy only to end up with physical exhaustion and lingering injuries is the shortest path to killing motivation. For your body to truly transform, you need a scientific stamina distribution strategy, turning physical activity from a forced task into a natural reflex of your body.
Below is a minimalist 4-week transition roadmap designed to focus on building a cardiovascular and musculoskeletal foundation without overloading the central nervous system.
| Phase (Week) | Frequency & Duration | Intensity & Method | Core Goal |
|---|---|---|---|
| Week 1-2: Adaptive Warm-up | 3 sessions/week (20-30 mins/session) | Light. Brisk walking combined with deep breathing. Keep heart rate in Zone 2 (still able to speak in full sentences). | Awaken the musculoskeletal system, lubricate synovial joints, and build the habit of putting on shoes every day. |
| Week 3-4: Accumulation Boost | 4 sessions/week (30-45 mins/session) | Moderate. Apply the run-walk interval method (Interval Training): 2 minutes of brisk walking, 1 minute of slow running. | Increase lung capacity, optimize oxygen absorption (VO2 Max), and stimulate deep metabolism. |
Performance Upgrade: "Incline" and "Light Dumbbell" Techniques
Once the body adapts to the basic movement rhythm, maintaining the same intensity will cause fat-burning efficiency to stall (the Plateau phenomenon). This is when you need to apply "progressive variables" to force the body to expend more energy in the same amount of time.
- Incline Walking: Raise the incline on the treadmill to 5% - 8%. Walking uphill increases calorie burn by up to 60% compared to flat-surface walking, while minimizing impact pressure on the knee joints. This is a "golden" exercise that maximizes the activation of the glutes and hamstrings.
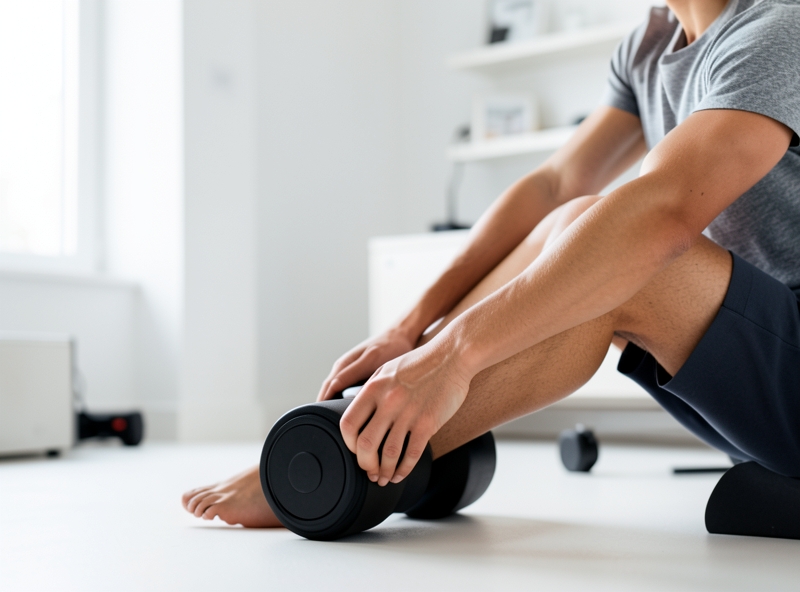
- Integrating Light Dumbbells (0.5kg - 1kg): Holding small dumbbells or wearing wrist weights during your walk not only tones the biceps and shoulders but also creates light resistance, forcing the entire core to tighten to maintain balance, thereby increasing basal metabolic rate (BMR) even after you stop exercising.
"Do not try to run faster when your body is not strong enough. Run steeper and carry a little more pressure. That is how you build sustainable lean muscle without damaging your joints."
The Ultimate Weapon for Joint Protection: Choosing the Right Shoes
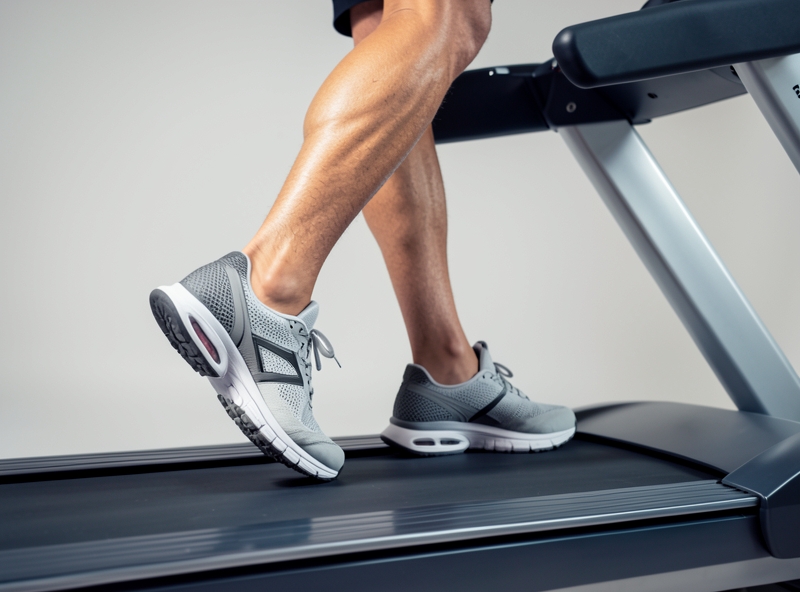
Many people are willing to spend millions on supplements but hesitate to spend money on a proper pair of training shoes. This is a fatal mistake. When you walk or run, your heel absorbs an impact force equal to 1.5 to 3 times your body weight bouncing back from the ground.
To protect your spine and knee joints from micro-injuries accumulated over time, choose shoes based on these 3 core criteria:
- Cushioning Technology: Look for shoes with a midsole that uses air bubbles, gel cushioning, or high-energy return cushioning technology. This cushioning acts like a shock absorber, absorbing the impact before it can travel up to the ankles and knees.
- Heel-to-toe drop: For beginners or frequent incline walkers, a heel drop of 8mm - 12mm is ideal. This slope naturally shifts the center of gravity forward, minimizing the load on the Achilles tendon.
- Heel Counter: The rear heel of the shoe must be rigid enough to snugly support and prevent the heel from slipping or rolling sideways with each step, ensuring absolute stability for the entire lower limb axis.
5. Frequently Asked Questions (FAQ)
Many people rush into training with burning determination but end up with lingering injuries or zero fat loss results. The reason is not laziness, but a lack of core knowledge. Below are direct, scientific answers from fitness experts to help you optimize your every step.
1. How many minutes of brisk walking should you do daily for optimal results?
To activate the fat-burning mechanism and improve cardiovascular health, the magic number is 30 to 45 minutes per day, maintained 5 to 6 days a week. Science has proven: In the first 20 minutes, the body mainly uses stored energy from carbohydrates. Only after the 20-minute mark does the fat metabolism (fat burning) process truly ramp up to its maximum. Don't try to cram a 2-hour walk into the weekend; daily consistency is the golden key to resetting your body's metabolic rate.
2. Can people with joint pain practice this?
Absolutely, it is even mandatory to stay active. Many people mistakenly believe that they should lie still when experiencing joint pain. This is a serious mistake that makes joints drier and stiffer. Joint cartilage has no direct blood supply; it absorbs nutrients through the osmosis of joint fluid when you move gently. Brisk walking with proper technique is a low-impact exercise that helps strengthen the muscles around the joints, reducing direct pressure on the cartilage. However, listen to your body: only walk on flat surfaces, avoid steep slopes, and stop immediately if sharp, acute pain occurs.
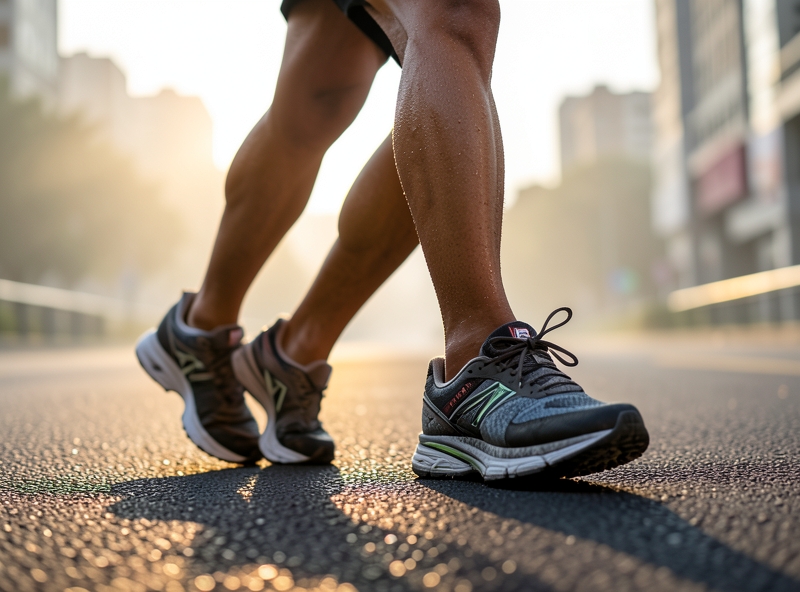
3. How do you distinguish between standard Brisk Walking and Power Walking?
The difference lies not only in speed but in the level of muscle activation and the range of motion of the arms. For easy visualization, please refer to the standard comparison table below:
| Comparison Criteria | Brisk Walking | Power Walking |
|---|---|---|
| Average Speed | About 5.0 - 6.5 km/h (Fast breathing but still able to speak in full sentences). | About 6.5 - 8.0 km/h (The boundary between walking and jogging). |
| Arm Movement | Natural arm swing at your sides, with elbow angle opening freely. | Bent elbows at a strict 90-degree angle, swinging arms powerfully in rhythm with footsteps to create propulsion. |
| Activated Muscle Groups | Primarily targets calf muscles and quadriceps. | Comprehensive activation from glutes, hamstrings, and core to the shoulder and chest area. |
| Calorie Burning Efficiency | Average consumption of 250 - 300 kcal/hour. | Outstanding consumption of 400 - 550 kcal/hour (Equivalent to light jogging). |
4. Is it necessary to warm up before walking?
Yes, and this is a non-negotiable step if you want to protect your cardiovascular system and hamstrings. However, absolutely avoid static stretching when your body is still cold—this action can easily cause muscle tears. Instead, perform 5 minutes of dynamic warm-ups such as hip rotations, high knees in place, and walking at a slow pace for the first 3 to 5 minutes to gradually increase your heart rate and warm up muscle fibers.
"Don't wait until your body sends distress signals through joint pain to start learning how to move correctly. A 5-minute warm-up cycle is well worth the safety of the entire workout journey ahead."