1. Challenges in handling long reports and systematic formatting mindset in MS Word
Imagine you have just finished a 200-page strategic report after three sleepless weeks. You press Ctrl + S, export the file to PDF format to send to your partner, and realize a visual "disaster": all headings are wrapping unpredictably, random blank spaces appear everywhere, data tables are cut in half, and the automated table of contents displays the error "Error! Bookmark not defined". You hopelessly struggle pressing Enter, Backspace, and manually editing page by page. This is not just a problem of Word skills; it is the direct consequence of applying a "typewriter" mindset to structured data processing software.
Handling Large-Scale Documents requires a completely different approach. When document length exceeds the 50-page mark, any manual formatting operation using toolbar buttons (such as directly applying bold, changing fonts, or adjusting font size) becomes a "time bomb." They create visual inconsistency, bloat file size, and break the logical linking structure of the entire document.
| Comparison Criteria | Manual Formatting Mindset (Ad-hoc) | Systematic Formatting Mindset |
|---|---|---|
| Approach | Highlight text and apply direct formatting on the Ribbon. | Use the Styles (Heading, Normal, No Spacing) system to manage properties. |
| Modification Speed | Slow. Must edit page by page, line by line whenever design changes are required. | Instant. Changing the properties of the base Style will automatically update the entire document. |
| Layout Stability | Poor. Prone to line jumping and margin misalignment when opened on different computers or Word versions. | Absolute. The structure is locked using Section Breaks and Paragraph Rules. |
| Automation Capabilities | Unable to accurately generate automatic tables of contents, figure lists, or page numbering. | 100% synchronization of table of contents, cross-references, and multi-level page numbering. |
To escape the trap of repetitive formatting troubleshooting, you must undergo a mindset revolution: Stop designing visual interfaces and start building data architecture. MS Word operates based on strict hierarchical rules. When you understand that every paragraph is a data object managed by a "genetic code" (Style), you will never use the Enter key to move to a new page or the Spacebar to center-align text.
"The difference between an amateur Word user and a report processing expert lies in this: The amateur sees characters on a page, while the expert sees the data structure behind those characters."
To establish a solid systematic mindset when starting any long document project, always strictly adhere to the following three core principles:
- Consistency Principle: Predefine the entire system of fonts, font sizes, line spacing, and paragraph spacing via the Styles Pane before writing the first line of text.
- Separation Principle: Use the Section Break (Next Page) feature instead of a regular Page Break to divide the document into independent sections. This allows you to format page numbers, headers, and footers differently for each chapter without affecting the remaining sections.
- Automation Principle: Absolutely do not manually type numbers for headings and subheadings. Link your Styles system to the Multilevel List feature so Word automatically calculates and updates item numbering (1.1, 1.1.1, 1.1.2) in the most accurate way.
2. Mastering the Style Pane: The Foundation for Document-Wide Consistency
Have you ever spent hours manually editing every heading, dealing with layout shifts when copying data, or breaking into a cold sweat rebuilding a table of contents by hand right before a report deadline? Manually formatting line by line is the "silent killer" ruining your productivity. To optimize your document workflow, you need to stop thinking in terms of manually bolding text or tweaking font sizes, and start mastering the Style Pane—the command center for the entire aesthetic layout of a professional document.
The Style Pane is not merely a toolbar for selecting fonts. It is a centralized formatting management system that allows you to apply design standards across hundreds of pages with a single click, ensuring complete consistency from the first page to the last.
Activating the Control Center: How to Open and Master the Style Pane Window
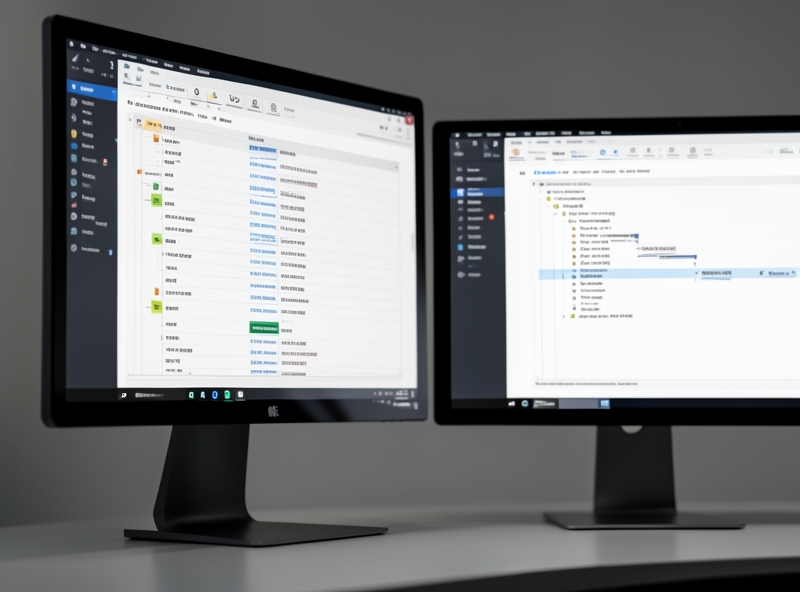
To start your document standardization revolution, you need to bring up this ultimate control panel. On the Microsoft Word toolbar, under the Home tab, locate the small diagonal arrow in the bottom right corner of the Styles group and click it. However, a true expert uses the classic keyboard shortcut: Alt + Ctrl + Shift + S. The Style Pane window will instantly appear on the right side of your screen.
In this interface, click the Options button at the bottom. In the pop-up dialog, under Select styles to show, switch from "Recommended" to "All styles" and set Select how list is sorted to "Alphabetical". This setup ensures you have the complete catalog of formatting options at your fingertips without missing any hidden properties.
Building Document DNA: Customizing and Creating Core Styles
A well-structured document needs to be built on a clear hierarchy. You don't need to manually create dozens of new formats; instead, restructure the core default Styles:
- Normal Style: This is the "stem cell" of your entire document. All other Styles inherit from Normal. Right-click Normal in the Style Pane and select Modify. Set a standard font (e.g., Times New Roman or Arial), font size 12pt, and alignment to Justified. Next, go to Format -> Paragraph, set Line Spacing to 1.15 or 1.2, and Spacing After to 6pt to create comfortable breathing room for readers.
- Heading 1 & Heading 2 Styles: These serve as structural milestones for your content. When customizing Headings, make sure to enable the Keep with next attribute (under the Line and Page Breaks tab in the Paragraph dialog) so your titles are never orphaned at the bottom of a page.
- Body Text Style: Use this for main body paragraphs when you want to completely decouple specific settings from the baseline Normal Style, preventing unintended chain-reaction changes when updating large documents.
"Manual formatting is a meaningless repetitive task. Formatting with Styles is programming structure into your document."
| Comparison Criteria | Manual Formatting (Ad-hoc Formatting) | Style Pane Management (Structured Formatting) |
|---|---|---|
| Editing Time | Increases linearly with page count (Takes hours for long documents). | Instantaneous (A 1-second change applies to the entire document). |
| Consistency | Prone to errors, inconsistent across chapters and sections. | 100% accurate, perfectly synchronized fonts and spacing. |
| Automated Table of Contents | Impossible to do automatically; requires manual line-by-line typing. | Created and updated automatically with just two clicks. |
| Format Conversion | Extremely complex, easily causes layout breakages. | Seamless and easy to convert to other brand templates. |
Maximum Automation: Applying Styles in Bulk and Generating a Table of Contents in 3 Seconds
Once your Style blueprint is established, applying it across your text becomes lightning fast. Instead of highlighting each title line by line, simply place your cursor on that line and click the corresponding Style name in the Pane. To quickly harmonize paragraphs with similar legacy formatting, highlight a sample paragraph, right-click the corresponding Style, and select Update [Style Name] to match selection—all related sections will automatically transform to match the new format.
The greatest benefit of strictly adhering to a Heading Styles system is the ability to automate your Table of Contents. You no longer need to check page numbers manually or type out endless dot leaders. Simply navigate to the desired page, go to the References -> Table of Contents tab, and select a predefined template. Microsoft Word will automatically scan the entire Heading 1 and Heading 2 structure assigned via the Style Pane to generate a Table of Contents that is accurate down to every single page number.
Whenever changes occur to your content or page numbers during drafting, simply right-click the Table of Contents and select Update Field -> Update entire table. The entire structure updates accurately in the blink of an eye. This represents the pinnacle of modern office efficiency: transforming repetitive manual tasks into a smart automated workflow, completely freeing up your time to focus on the core value of your content.
3. Synchronizing Multilevel Lists with Styles: Automatic and Systematic Section Numbering
Have you ever been driven crazy when a 100-page document suddenly jumps numbering out of nowhere just because you accidentally inserted a small section? The nightmare of manually typing every single number like "1.1", "1.2", and then "1.2.1" not only wastes hours of precious labor but is also the source of embarrassing formatting errors in front of clients. Synchronizing Multilevel Lists with Heading Styles is the ultimate weapon that helps you fully master your document structure, transforming Word from a simple text editor into a smart automation system.
Once linked successfully, any changes to position, addition or removal of headings, or font reformatting will be automatically updated by the system in an instant. Below is the standardized workflow to help you set it up once and use it forever.
3-Step Process to Link a Multilevel List with Heading Styles
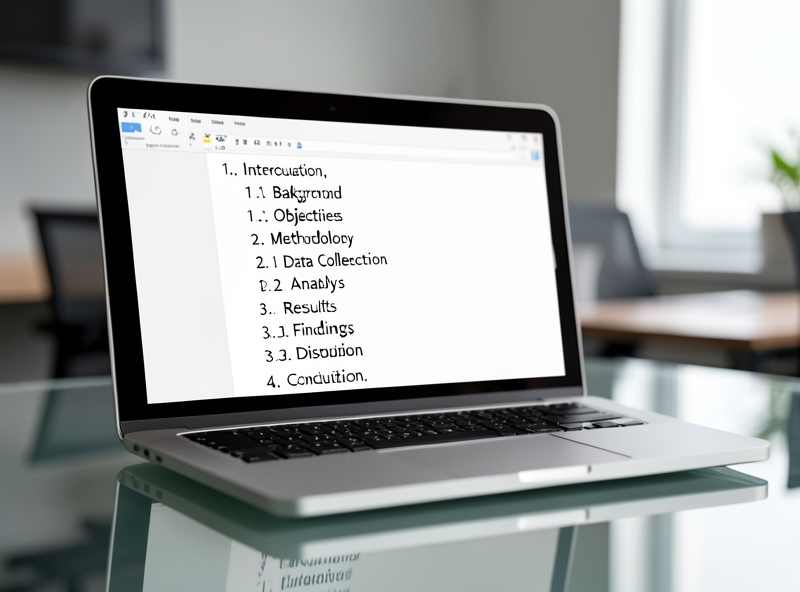
To ensure the system automatically increments numbers correctly in the format 1., 1.1., 1.1.1., strictly follow these steps:
- Step 1: Activate Define New Multilevel List. On the Home tab, find the Paragraph group, click the Multilevel List icon, and select Define New Multilevel List at the bottom.
- Step 2: Link each level to its corresponding Heading style. In the dialog box that appears, click the More >> button to expand options. Select Level 1 on the left pane, and under Link level to style on the right, select Heading 1. Repeat this for subsequent levels: link Level 2 to Heading 2, and Level 3 to Heading 3.
- Step 3: Define the numbering format. In the Enter formatting for number field, you can customize the display format (e.g., adding a period after the number). Ensure the Follow number with field is set to Space or Tab character depending on your document standards to prevent text overlap errors. Click OK to finish.
"Never type section numbers manually. If you have to type '1.1' yourself, you are wasting time and increasing the risk of systemic errors."
Completely Fix Incorrect Numbering and Formatting Loss Errors
Even after setup, documents may still encounter incorrect numbering errors (e.g., the next item should be 2.1 but jumps to 1.3) or lose formatting when copying content from external sources. Here is how to resolve these issues at their root cause:
| Error Symptom | Root Cause | Quick Solution |
|---|---|---|
| Non-sequential numbering (resets to 1.1 even though it is under section 2) | The "Restart numbering" feature was accidentally triggered or the style link was broken. | Right-click the incorrect number and select Continue Numbering. If that doesn't work, re-apply the standard Style from the Ribbon. |
| Loss of font/color formatting when pressing Enter for a new line | The source Heading style is not configured to automatically revert to Normal text style. | Right-click the problematic Heading Style and select Modify. In the Style for following paragraph field, change it to Normal. |
| Text stuck to the number (e.g., 1.1Table_of_contents) | Missing separation space after the automated number. | Reopen Define New Multilevel List, select the affected level, and change Follow number with to Space or Tab character. |
A small but extremely valuable tip for office professionals: When pasting content from another document, always use the key combination Ctrl + Shift + V (or select the Keep Text Only paste option) to strip out all unwanted formatting from the old source, completely preventing any disruption to your established Multilevel List structure.
4. Section Breaks: Partitioning Techniques to Optimize Complex Layouts
Have you ever gone crazy trying to rotate a page containing a large table to landscape in Word, only to find that all dozens of pages following it... rotated too? Or was the page numbering system chaotic as soon as you inserted a table of contents? That is the most common formatting disaster in word processing. The sole reason: You are overusing Page Breaks instead of mastering Section Breaks.
Simply put, while a Page Break merely "pushes" text to a new page while maintaining the previous page's formatting, a Section Break is like dividing your document into independent sections. Each section possesses its own "autonomous mode," allowing you to set completely different page orientation, margins, Headers/Footers, and page numbering without affecting the rest of the document.
| Feature | Page Break | Section Break - Next Page | Section Break - Continuous |
|---|---|---|---|
| Core Purpose | Pushes content to a new page when a section ends. | Creates a new section on a completely separate next page. | Creates a new section right at the cursor position (on the same page). |
| Change Orientation (Portrait/Landscape) | Not possible (Applies globally to the entire document). | Possible (Rotate any page to landscape). | No (Since it shares the same physical page). |
| Different Headers/Footers | Not possible (Must remain identical). | Possible to set up differently between chapters. | Rarely used for Headers/Footers; mostly used for column splitting. |
| Common Applications | Ending a paragraph and moving to the next page. | Rotating a page with tables to landscape, dividing major chapters. | Splitting a specific paragraph into columns mid-page. |
To optimize complex layouts in financial reports, bidding dossiers, or professional theses, apply these 3 practical Section Break techniques right away:
Technique 1: Rotating a Single Page Containing a Large Table to Landscape
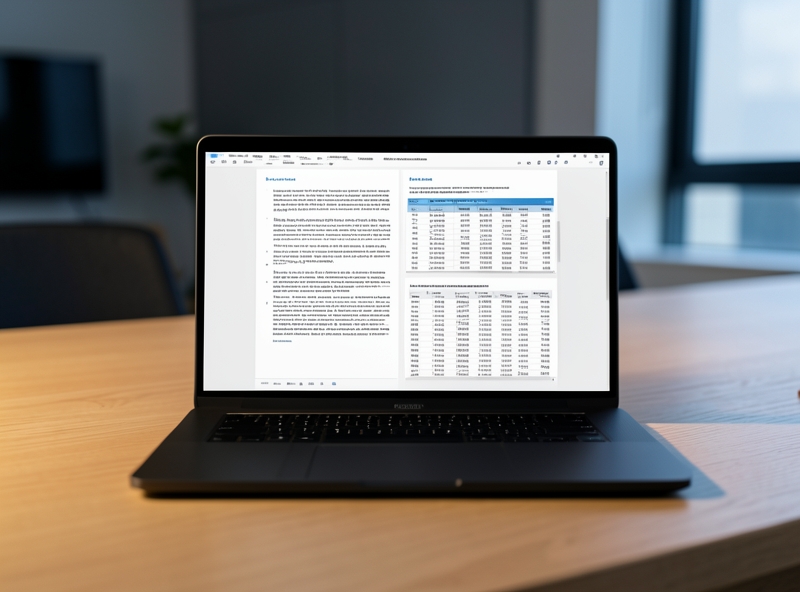
When encountering an oversized data table or landscape diagram, squeezing it into Portrait orientation will break the column structure. Isolate that page by doing the following: Place your mouse cursor at the very beginning of the page you want to rotate, go to Layout > Breaks > Section Breaks > select Next Page. Then move your cursor to the bottom of that page, and repeat the step to insert another Section Break (Next Page). Now, the page with the table is isolated in its own Section. Simply place your cursor on this page and select Layout > Orientation > Landscape. Result: Only the page with the table is rotated to landscape, while the entire document before and after it remains in portrait.
Technique 2: Creating Separate Headers and Footers for Each Chapter
A professional document never displays the title "Chapter I" across all 100 pages. Each chapter needs its own Header so readers can easily navigate. After separating chapters using Section Break (Next Page), double-click the Header area of the new chapter. Look at the toolbar, and you will see the Link to Previous button activated by default. Click it to turn off this option. This is the crucial step to break the connection between the two chapters, allowing you to freely enter a new header for the current chapter without altering the previous ones.
Technique 3: Flexible Page Numbering (Format i, ii, iii and 1, 2, 3)
Standard professional documents always require the Introduction and Table of Contents to be numbered with classic Roman numerals (i, ii, iii...), while the main body starts on page 1 with Arabic numerals (1, 2, 3...). To achieve this:
- Step 1: Place a Section Break (Next Page) at the end of the Table of Contents page to completely separate the introduction (Section 1) from the main content (Section 2).
- Step 2: Double-click the Footer of Section 2 and turn off the Link to Previous feature.
- Step 3: In Section 1, select Insert > Page Number > Format Page Numbers. Under Number Format, select the i, ii, iii... style.
- Step 4: Switch to Section 2, select Format Page Numbers again, choose the 1, 2, 3... format, and check the Start at: 1 box. The system will automatically reset the first page of the main body to number 1 flawlessly.
"The difference between an amateur document and a professional bidding proposal or executive report often lies simply in how the author handles page layout. Mastering Section Breaks is the key transition from a basic typist into a true document design expert."
5. Conclusion: Mastering the Power Trio – The Key to Optimizing Office Productivity
Hours wasted just aligning margins, fixing page jumps, or struggling to renumber headings is a silent "nightmare" destroying the productivity of every office employee. The truth is, top professionals never format manually. They operate a closed-loop automation system built from the power trio: Style - Multilevel List - Section Break.
When these three tools work seamlessly together, they create a perfect document processing workflow:
- Style (Formatting Genome): Plays the role of establishing visual consistency across the entire document. Every change in font, color, line spacing is centrally controlled with just a single click.
- Multilevel List (Logical Skeleton): Tightly linked with Styles to automate heading numbering. This system ensures the document's hierarchical structure remains absolutely accurate, even when you add, remove, or relocate large sections.
- Section Break (Flexible Joint): Frees the document from rigid formatting by breaking the text into independent sections. Thanks to this, you can easily rotate a page horizontally for a complex table or customize page numbering between chapters without disrupting the overall layout.
Building a document from a blank page without preparation is like building a house without a blueprint. To achieve maximum efficiency and maintain top-tier professionalism in every report publication, the first thing to do is to change your drafting mindset.
"Do not write a single word before you finish setting up your Master Template. Investing 15 minutes upfront to standardize Styles, Multilevel Lists, and Section Breaks will save you dozens of hours in post-editing, while establishing your professional value in every report page sent to partners and supervisors."
Stop manually fixing line by line. It is time to apply a systems mindset to your daily office work, turning familiar tools into your most powerful productivity optimization weapons.