1. Overview of the Challenges in Maintaining Natural Stone and High-End Ceramic Tile Floors
A Carrara marble floor or polished porcelain tile worth thousands of dollars can be permanently ruined after just a few months of using a supermarket "multi-purpose" floor cleaner. The luxury and prestige of modern homes are often defined by natural stone floors or high-end ceramic tiles. However, behind that magnificent beauty and flawless light reflection lies a harsh reality: the more expensive the surface, the more sensitive and vulnerable it is to ordinary cleaning habits.
Most homeowners face the issue of floors gradually dulling, stubborn blotchy stains appearing, or dense spiderweb scratches ruining the original shine. The most common mistake is applying a one-size-fits-all cleaning method to every type of material. By overlooking material classification, you are inadvertently using chemicals to erode the natural protective layer of stone and tile every day.
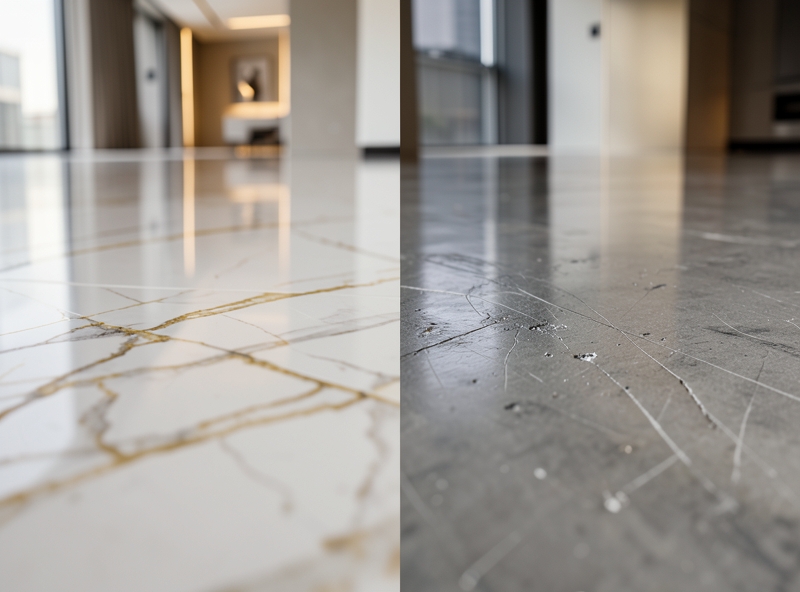
"Natural stone floors are a living entity with a porous structure; they need to 'breathe' rather than being sealed off by cheap wax polishes or eroded by harsh cleaning chemicals."
For effective maintenance, the first step is to thoroughly understand the core technical characteristics of each surface type. Physical structural differences lead to completely different reactions to the same environmental factors:
- Natural Stone (Marble, Granite, Travertine): Possesses a porous structure with high porosity, making it extremely easy to absorb liquids. Marble is primarily composed of Calcium Carbonate (CaCO3), causing an immediate chemical reaction upon contact with acidic substances (such as vinegar, lemon, or industrial floor cleaners containing organic acids), resulting in permanent chemical burns (acid etching).
- High-End Tiles (Porcelain, Glazed Ceramic): Although they have an extremely low water absorption rate (below 0.5%) and higher hardness than natural stone, their weakness lies in the surface glaze and grout lines. Overly harsh cleaning chemicals or sharp scrubbing tools will scratch the glossy glaze, allowing dirt to penetrate deep into the tile body beneath, causing unrecoverable damage.
| Material Type | Core Physical Characteristics | Number One Enemy | Consequences of Improper Care |
|---|---|---|---|
| Marble | High porosity, soft, sensitive to acids. | Acids (Lemon, vinegar, low pH cleaners). | Complete loss of shine, blotchy chemical acid etching. |
| Granite | Harder than Marble, less porous but still absorbent. | Grease, colored liquids, harsh detergents. | Deep yellow staining, dulling due to chemical buildup. |
| Polished Porcelain Tile | Ultra-hard tile body, polished glazed surface. | Fine sand, sharp tools, wax-film-forming cleaners. | Fine spiderweb scratches, cloudy surface due to chemical film buildup. |
Therefore, maintaining high-end flooring is not simply a routine cleaning task. It is a process that requires a deep understanding of surface chemistry, precise control of the cleaning solution's pH level, and the application of correct mechanical techniques to fully protect the lasting aesthetic value of the property.
2. Analysis of Cleaning Chemical pH and Its Impact on Floor Surfaces
Have you ever wondered why glossy marble floors or luxurious ceramic tiles in your home suddenly become dull, splotchy, and rough after just a few months of cleaning? The mistake does not lie in your mopping technique, but in the bottle of floor cleaner you use every day. The key to determining the lifespan of any floor surface lies in a very familiar chemical metric: pH level. Choosing the wrong pH for cleaning chemicals is like using fine sandpaper for daily facial skincare—the destruction happens silently but irreversibly.
The pH scale ranges from 0 to 14, divided into three main zones: Acidic (pH < 7), Neutral (pH ≈ 7), and Alkaline (pH > 7). Every type of flooring material—from natural stone, ceramic tile, and porcelain tile to wood—has its own chemical "tolerance threshold." Understanding this interaction mechanism is the boundary between a house that always shines like new and an extremely expensive floor renovation bill.
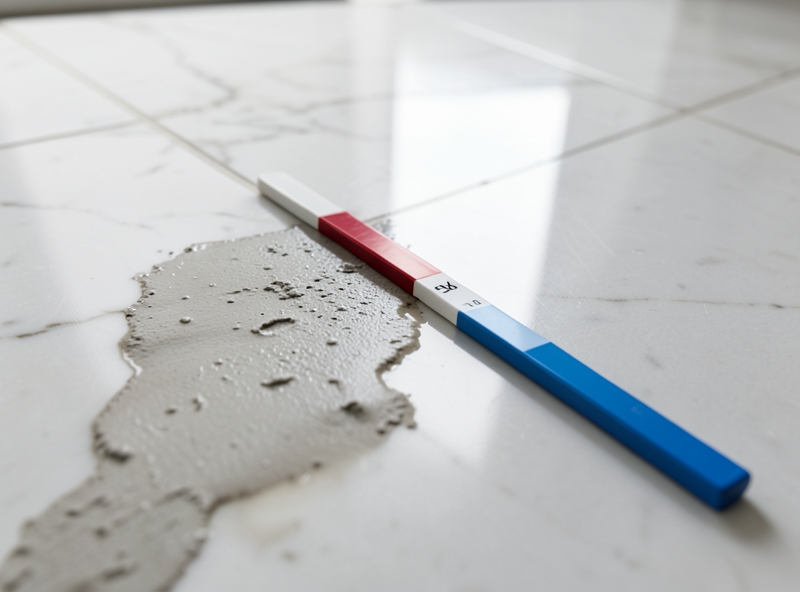
"An unsuitable pH level is a silent killer that destroys the floor's surface structure many times faster than physical friction from daily footsteps."
| pH Group | pH Range | Typical Chemicals | Physical Impact on Floor Surfaces |
|---|---|---|---|
| Strong Acid | 0 - 5 | Toilet bowl cleaner, rust remover, cooking vinegar | Corrodes natural stone (marble, limestone), destroys tile glaze, degrades grout lines. |
| Neutral | 6 - 8 | Specialized floor cleaner, mild dish soap | Completely safe for all surfaces, preserves shine and protective coating. |
| Strong Alkaline | 9 - 14 | Bleach, powder detergent, degreaser | Erodes floor wax finish, leaves dull residue, makes wood surfaces dry and brittle. |
Let's dive deep into the chemical nature to clearly see the damaging effects of these chemicals:
- Destructive power of Acidic cleaners (pH < 7): Natural stones such as marble, limestone, or travertine are composed primarily of Calcium Carbonate (CaCO3). When coming into contact with acid (even weak acid from vinegar or lemon juice), a chemical reaction occurs immediately, dissolving calcium and creating chemical etching. This etch mark looks like a dull, rough spot that cannot be wiped away with water. For standard ceramic tiles, strong acids will eat away the protective glossy glaze on the outside, exposing the tile body underneath, making it susceptible to water absorption and dark staining.
- The pitfall of strong Alkaline cleaners (pH > 7): High-alkaline cleaners are extremely effective at dissolving oil and grease. However, when used on floors, strong alkalis attack the surface protective coating (sealant). Once this protective layer is stripped away, excess alkali combines with hard water minerals to form an alkaline residue film tightly bonded to the floor. This film acts like a magnet for dirt, making the floor always look dingy, gray, and slippery even right after mopping.
To maintain floors in their best condition, the core principle is to use a neutral solution (pH ≈ 7) for daily cleaning. Neutral solutions work through surfactants to encapsulate and lift dirt away from the floor without causing any harmful chemical reactions. Only use specialized chemicals (acidic or alkaline) when treating extremely stubborn spot stains, and neutralize immediately with clean water after cleaning.
3. Techniques for Protecting Glaze and Maintaining Floor Shine
Floors do not age simply with time; they are silently ruined every day by your improper cleaning habits. Fine hairline scratches appearing densely like spiderwebs, dull tile surfaces right after mopping—these are the results of simultaneous mechanical damage and chemical erosion. To keep the glaze mirror-shiny, you need a precise maintenance routine grounded in materials science.
The core principle of protecting floor surfaces is absolute control over two factors: physical friction and cleaner pH level. Just a tiny grain of sand dragged under a slipper sole or a drop of strongly acidic floor cleaner is enough to permanently destroy the crystalline bonds of the surface glaze.
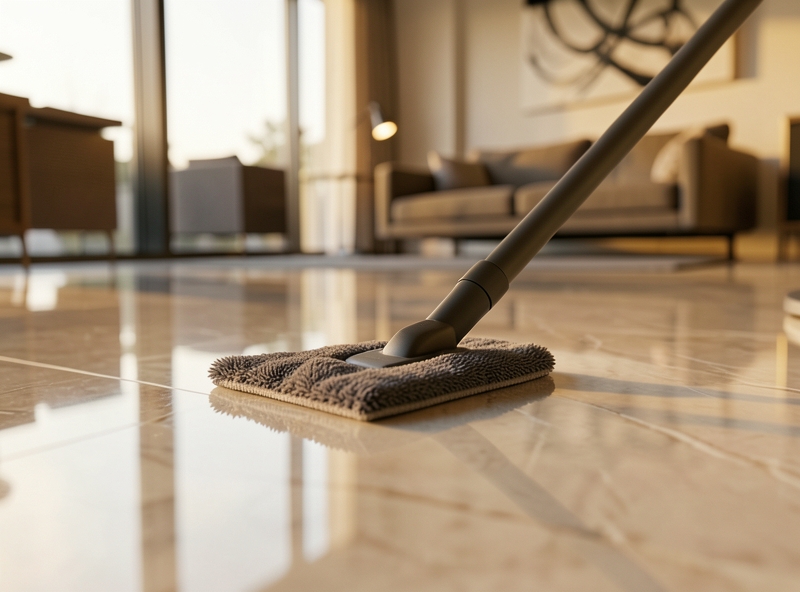
Physically and Chemically Sound Cleaning Process: Halting Scratch Risks
To prevent micro-scratching agents, the cleaning process must strictly follow these two distinct steps:
- Step 1: Hard Particle Removal (Physical Standard): Never sweep directly with a broom on glossy ceramic tile or natural stone. Stiff broom bristles drag sand grains and stone dust, creating micro-cuts. Use a vacuum cleaner with a soft brush head or an electrostatic dust mop to completely lift dirt vertically off the surface.
- Step 2: Dirt Dissolution (Chemical Standard): Tile glazes and natural stone are extremely sensitive to strong acids or alkalis. Choose a floor cleaner with a neutral pH (pH = 7). Cleaners containing vinegar or lemon (acidic) or bleach (alkaline) will erode the calcium carbonate layer on stone surfaces, stripping their natural shine and creating micro-pores that make the floor easier to stain later on.
"Floor shine is not created by hard scrubbing; it is maintained by preventing the formation of micro-scratches."
The Art of Periodic Sealing for Natural Stone and Unsealed Tiles
Natural stone (Granite, Marble), matte glazed tiles, and unsealed ceramic tiles always have open pores on their surface. Without protection, water, grease, and colored chemicals will seep deep inside, causing irreparable stains. The ultimate solution is regular protective sealing.
A specialized sealer works by penetrating deep into these pores and curing to form an invisible yet highly durable polymer barrier. This film prevents water and dirt penetration while enhancing light refraction to give the floor surface greater depth and shine.
The optimal sealing frequency is every 12 to 18 months. The process includes deep cleaning the floor surface, letting it dry completely for 24 hours, and then applying a thin, even coat of sealer with a fine roller. Wait 4 hours for the first coat to dry before applying the second coat to achieve maximum protection.
Optimizing Cleaning Efficiency with Microfiber Mopping Tools
Traditional cotton mops are the hidden "enemies" of glossy floors. Cotton fibers are coarse by nature, tending to push dirt around rather than trap it, while leaving behind streaky water marks after drying. Upgrade immediately to premium Microfiber.
| Comparison Criteria | Traditional Cotton Fiber | Premium Microfiber (80% Polyester / 20% Polyamide) |
|---|---|---|
| Operating Mechanism | Pushes dirt around and retains water on the surface, easily causing mold and mildew. | Microscopic wedge-shaped fibers generate electrostatic attraction, trapping dirt and bacteria deep within the weave. |
| Scratch Potential | High, due to coarse fibers that trap tiny sand particles at the fiber tips. | None, ultrasoft fibers provide perfect protection for even the most sensitive surfaces. |
| Drying Efficiency | Slow to dry, easily leaves dull water marks containing calcium residue (water spots). | Dries instantly, leaves no streaks, maintains perfect shine. |
When purchasing microfiber cleaning tools, pay attention to the fiber composition ratio. The optimal ratio for glossy floors is 80% Polyester (cleaning structure) and 20% Polyamide (absorption and polishing). Own at least two mop heads to swap continuously during cleaning, avoiding dragging a dirty mop head from room to room and accidentally redistributing abrasive dust particles that scratch the floor.
4. Secrets to protecting grout from dullness and yellowing
Are you spending hours every week scrubbing tile grout lines in your bathroom and kitchen, only to see them turn dark and dingy again a few days later? The truth is, the harder you scrub with regular chemical cleaners, the more you unintentionally erode and damage the grout structure, creating ideal "gaps" for dirt to embed even deeper next time.
Physically, cement-based tile grout is extremely porous, with millions of microscopic holes like a sponge. When exposed to tap water, cooking grease, and dead skin cells, grout quickly absorbs these impurities deep into its internal structure. This is the root cause of yellowing, darkening, and stubborn mold taking root from deep within rather than just on the surface.
| Comparison Criteria | Wrong Habits (Damages Grout) | Expert Method (Optimal Protection) |
|---|---|---|
| Cleaning Tools | Metal wire brushes or sharp scouring pads that scratch and break the grout bond. | Soft-bristled brushes or old toothbrushes, gently scrubbing along the grout lines. |
| Cleaning Chemicals | Strongly acidic cleaners (concentrated vinegar, toilet bowl cleaner) that break down the cement. | Specialized cleaners with pH-neutral balance (pH ~ 7) that are safe for grout. |
| Preventive Solutions | Leaving grout bare, continuously absorbing water and accumulating grime. | Periodically applying a specialized grout sealer to create a protective barrier. |
The optimal solution recommended by construction experts is to apply a specialized grout sealer immediately after installation or deep cleaning. This coating acts as an ultra-thin hydrophobic (water-repellent) barrier, filling the pores to prevent water and dirt penetration, causing water to bead up and roll off like a lotus leaf effect.
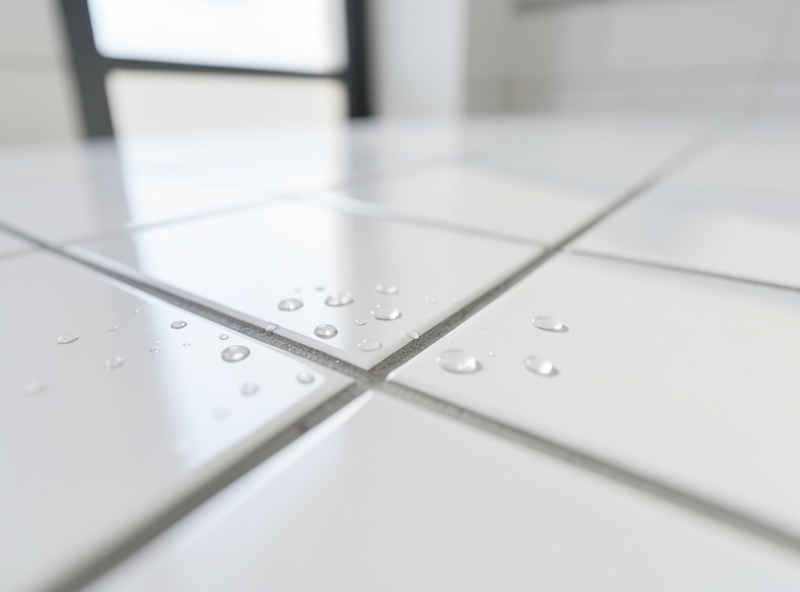
During routine cleaning, the standard procedure is to spray a neutral cleaner onto the grout surface and let it sit for 3 to 5 minutes to allow the chemical to dissolve the oil-based bonds of the grime. Next, use a soft nylon-bristled brush to gently scrub in straight lines. Strictly avoid circular scrubbing, as this friction can easily peel away the fragile bond of the grout underneath.
"The key to keeping grout looking brand new isn't about how hard you scrub, but how well you protect its porous structure from water and dirt."
5. Summary and Guide to Maintaining Lasting Beauty for Your Floors
Floors account for up to 40% of the visual area of the entire house, yet they endure the greatest mechanical wear and tear every day. A deep scratch on natural hardwood floors or a stubborn dull stain on expensive marble can instantly reduce the aesthetic value of the entire living space by 50%. Floor maintenance is not a costly battle, but rather the art of upkeep based on the three core principles below.
- Choose the Right pH Level: Stay away from strong acidic cleaners (such as vinegar or lemon) on natural stone and overly alkaline cleaners on hardwood floors. Prioritize neutral solutions (pH ~ 7) to preserve the structural integrity of the material's surface.
- Apply Periodic Protective Coatings: Just like skin needs sunscreen, every floor surface—from vinyl wood flooring to granite—needs periodic recoating or sealing to block staining agents and micro-scratches.
- Clean with Proper Technique: The golden rule is damp mopping, not wet mopping. Use ultra-fine microfiber cloths to trap dust instead of dragging fine sand and causing direct friction on the floor surface.
"The durability of a floor is not measured by the initial investment cost, but determined by the homeowner's understanding of materials and scientific maintenance habits."
To optimize time and effort, apply the routine inspection checklist below immediately. This is the standard maintenance schedule recommended by living space care experts:
| Frequency | Task Item | Core Benefit |
|---|---|---|
| Daily | Sweep fine dust using a soft broom or a vacuum with a soft brush attachment. Wipe up liquid spills immediately. | Eliminate fine grit—the main cause of surface micro-scratches during foot traffic. |
| Weekly | Damp mop the entire surface using a specialized mop and a neutral cleaning solution (pH = 7). | Remove dull buildup and maintain natural shine without eroding the protective layer. |
| Monthly | Inspect rubber pads and felt glides under furniture legs and cabinets. Replace worn pads. | Proactively prevent deep scratches caused by moving heavy furniture. |
| Annually | Apply a protective polish/finish (for wood and vinyl floors) or re-seal (for natural stone floors). | Regenerate the mechanical barrier, preventing moisture, mold, and water from penetrating deep into the core material. |
Following a scientific floor care routine not only saves thousands of dollars in restoration costs, but also fully preserves luxurious aesthetic value, delivering complete relaxation and peace of mind for family members.