1. Overview of the Importance of Proper Electronic Device Cleaning
Your daily keyboard harbors 5 times more bacteria than a toilet seat, while fine dust accumulating inside the chassis quietly raises system temperatures by the hour. Cleaning electronic devices is not merely about making the surface look good, but a core survival measure protecting both your financial health and overall user experience.
A dust layer just 1mm thick on a CPU heatsink can increase operating temperatures by 10°C to 15°C. Prolonged high temperatures are the leading cause of thermal throttling, rapid battery degradation, and shortening processor lifespan by 50%. In addition, keyboard gaps, connection ports, and speaker grilles are ideal environments for bacteria and mold to thrive due to moisture from hand sweat.
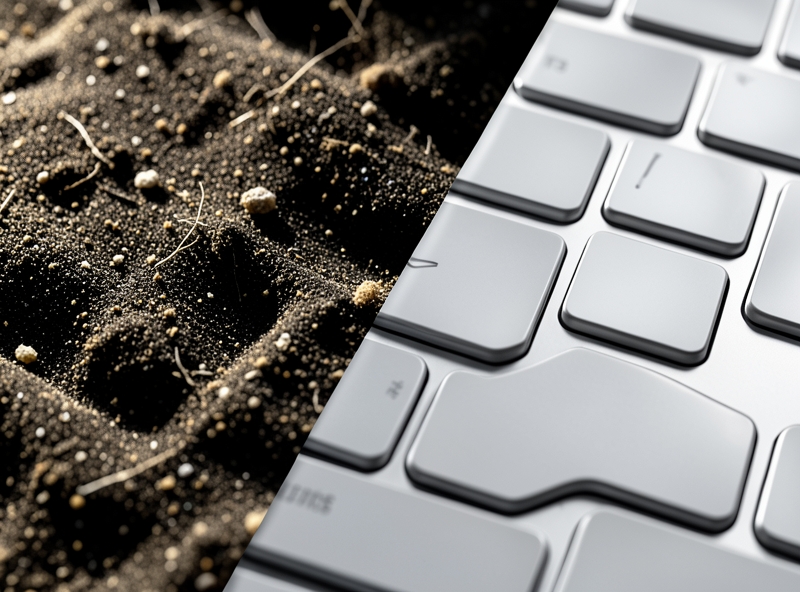
"90% of irrational hardware failures do not stem from manufacturer defects, but from neglecting dirt or using improper cleaning techniques that destroy microcircuit structures."
However, cleaning tech devices is entirely different from wiping regular furniture. Many people are unintentionally ruining their own expensive devices with just a few naive mistakes. Below are common fatal risks:
- Electrostatic Discharge (ESD): Friction from regular wipes or a t-shirt can generate static electricity of several thousand Volts. You cannot see or feel it, but it is powerful enough to puncture microscopic semiconductor layers on the circuit board.
- Liquid short-circuiting: Spraying cleaning solution directly onto screens or keyboards causes liquid to seep through gaps and invade the motherboard, causing an immediate short-circuit.
- Stripping anti-reflective coatings: Using high-concentration medical alcohol or glass cleaner on OLED, Retina, or anti-glare screens will permanently peel off the protective coating, leaving irreversible smudges and splotches.
- Mechanical surface scratching: Using dry paper towels or coarse cloth to wipe screens turns fine dust particles into "sandpaper," creating thousands of microscopic scratches.
| Cleaning Action | Common Mistakes (High Risk) | Technical Standard (Absolute Safety) |
|---|---|---|
| Screen Cleaning | Using high-concentration alcohol, spraying directly, using dry paper towels. | Damp microfiber cloth combined with specialized solution (<7% alcohol). |
| Cleaning ports/circuits | Blowing air by mouth (spitting moisture), using plastic brushes with heavy friction. | Using dry compressed air canisters and anti-static (ESD-safe) brushes. |
| Handling stubborn stains | Scraping with fingernails, using strong household cleaning chemicals. | Appropriate concentration Isopropyl alcohol (IPA) solution lightly dabbed on cloth. |
Understanding component characteristics and applying proper cleaning methods periodically every 3–6 months is the only way to help your devices maintain peak performance, run smoothly, and best preserve resale value.
2. Preparing Specialized Tools and Safety Rules Before Cleaning
A tiny electrostatic discharge, equal to just 1/10th the power of a miniature lightning bolt, is enough to "kill" a motherboard worth thousands of dollars. Many people accidentally turn their expensive computers or cameras into "scrap metal" simply due to the habit of using damp towels, glass cleaner, or cleaning while the device is still plugged in.
"Vital" Rules: 3 Mandatory Steps Before Touching the Device
- Power off completely: Never leave the device in Sleep or Hibernate mode. Background power channels are still active and can easily cause a short circuit when exposed to moisture.
- Unplug from power supply: Completely isolate the device from the electrical grid to eliminate the risk of electrical leakage.
- Remove detachable battery (if applicable): Disconnect stored battery power to ensure absolute safety for micro-components.
After completely disconnecting all power sources, choosing the right cleaning "weapons" accounts for 90% of success or failure. Using the wrong tools is like using a wire brush to wipe a screen—the damage caused is irreversible.
| Specialized Tool | Technical Role | Risks of Improper Substitutes |
|---|---|---|
| Microfiber Cloth | Ultra-fine fibers with a hooked texture help trap dirt instead of pushing it around to cause surface micro-scratches. | Using paper towels or rough cloth creates micro-scratches and leaves behind thousands of lint fibers. |
| Isopropyl Alcohol (IPA) | An excellent grease-dissolving solvent that evaporates extremely fast without leaving water residue. Ideal concentration is 70% - 90%. | Using Medical Alcohol (Ethanol) or glass cleaner will strip anti-glare coatings and cause component rust. |
| Air Blower & Soft Brush | Air pressure from the blower removes larger particles first; the soft brush sweeps away dust hidden deep in keyboard gaps and ports. | Using your mouth to blow introduces moisture and bacteria directly onto circuit boards. |
| Anti-Static Wrist Strap | Discharges accumulated static electricity from the human body to the ground, protecting sensitive memory chips. | Operating while walking on woolen carpets or wearing wool clothes can generate static charges of thousands of volts. |
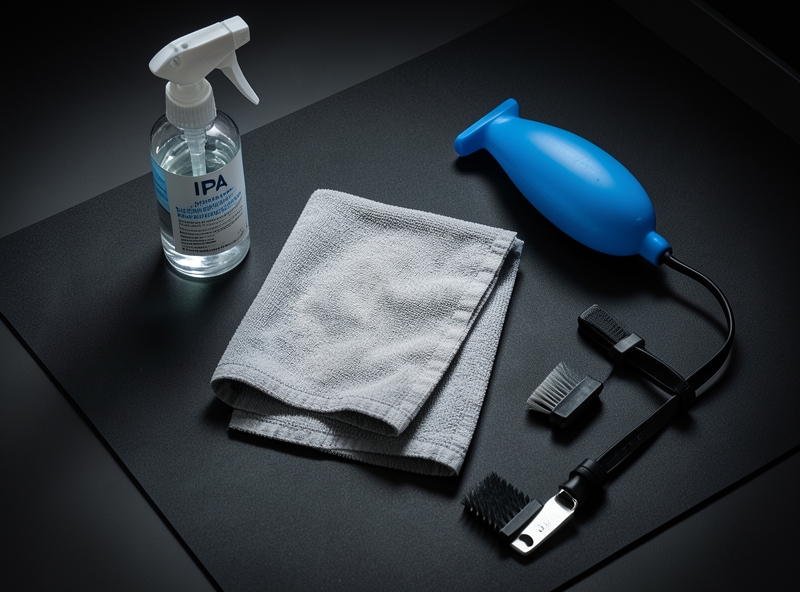
"Electrostatic discharge (ESD) is a silent enemy. A single micro-discharge is enough to melt semiconductor traces inside a processor without leaving any visible burn marks to the naked eye."
Don't save a few minutes of preparation only to pay the price with expensive component replacement bills. Proper tool preparation and adherence to power disconnection rules serve as a lifetime insurance policy for your home tech devices.
3. Safe Cleaning Procedure for Keyboards, Screens, and Ports
A single drop of liquid leaking into the screen bezel or a metal pin poked at the wrong angle into a charging port can instantly turn an expensive device into a "brick." Over 90% of keyboard malfunctions, screen lines, or damaged charging pins do not come from natural wear and tear, but from improper cleaning habits. Below are the technical standards to help you clean your device safely.
Step 1: Completely disconnect from power
Before touching any tool to your device, completely power it off, unplug the charger, and disconnect all peripherals. This is a vital rule to prevent short circuits if moisture accidentally penetrates the device.
Step 2: Clean the keyboard – Remove mechanical debris, dust, and surface bacteria
Keyboards accumulate more bacteria than a toilet seat. However, spraying floor cleaner directly or using a soaking wet cloth is a fatal mistake.
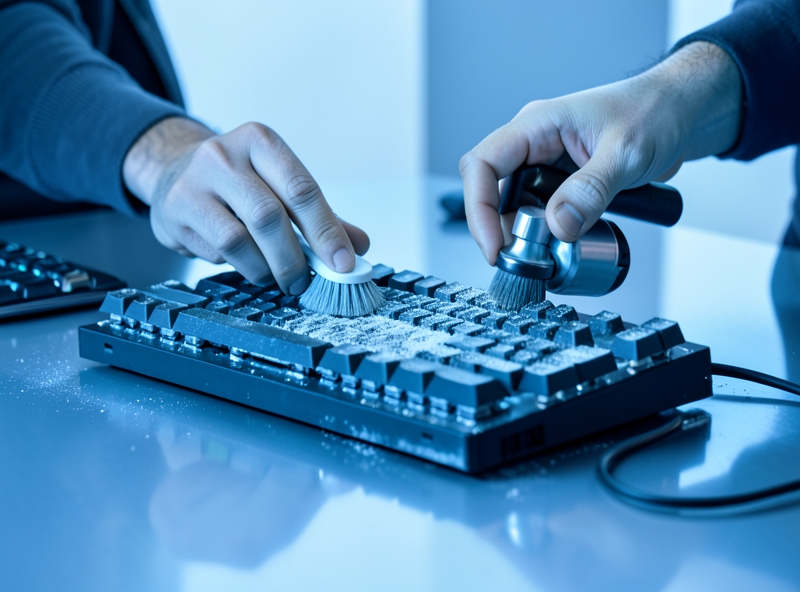
- Blow out hidden dust underneath: Tilt the keyboard or laptop at a 45-degree angle. Use a compressed air can (or a rubber air blower) to spray in a zigzag pattern from top to bottom to push out food crumbs, hair, and dirt. Do not blow with your mouth, as moisture in your breath contains enzymes that can easily corrode electrical circuits.
- Wipe clean the surface: Apply an adequate amount of 70% Isopropyl Alcohol to a microfiber cloth so it is only slightly damp—never dripping wet. Gently wipe each keycap. 70% alcohol is ideal for dissolving fingerprint oils, quickly disinfecting, and evaporating instantly without fading key lettering.
Step 3: Clean the screen – One-direction wiping technique to prevent micro-scratches
The anti-reflective coating on screens is extremely sensitive to harsh chemicals and friction.
- The "Never spray directly" rule: Absolutely never spray glass cleaner or water onto the screen surface. Gravity will cause the liquid to seep into the bottom bezel adhesive, destroying the LCD driver board and causing vertical lines or screen death.
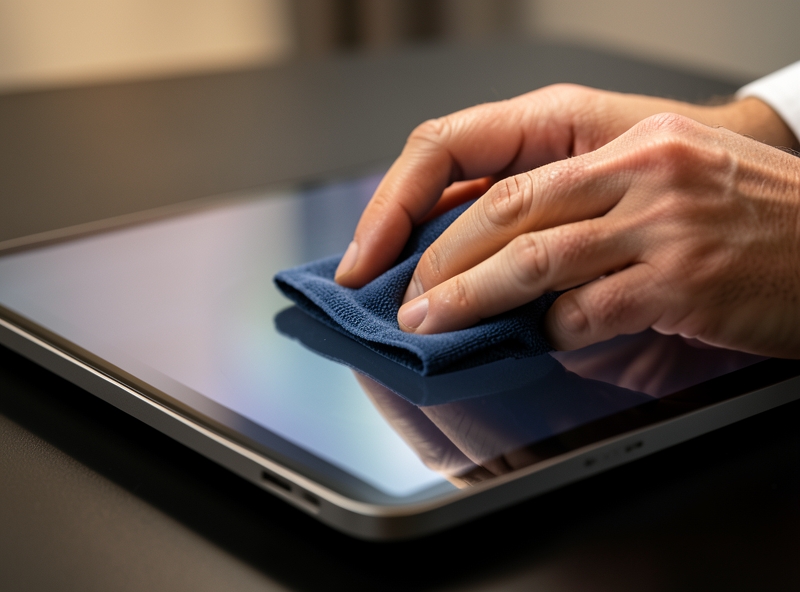
- Wipe gently in one direction: Spray a dedicated screen cleaning solution (or distilled water) onto an ultra-soft microfiber cloth. Gently wipe in a single direction (top to bottom or left to right). Avoid circular motions, as hard dust particles will be dragged around, acting like sandpaper and causing permanent micro-scratches.
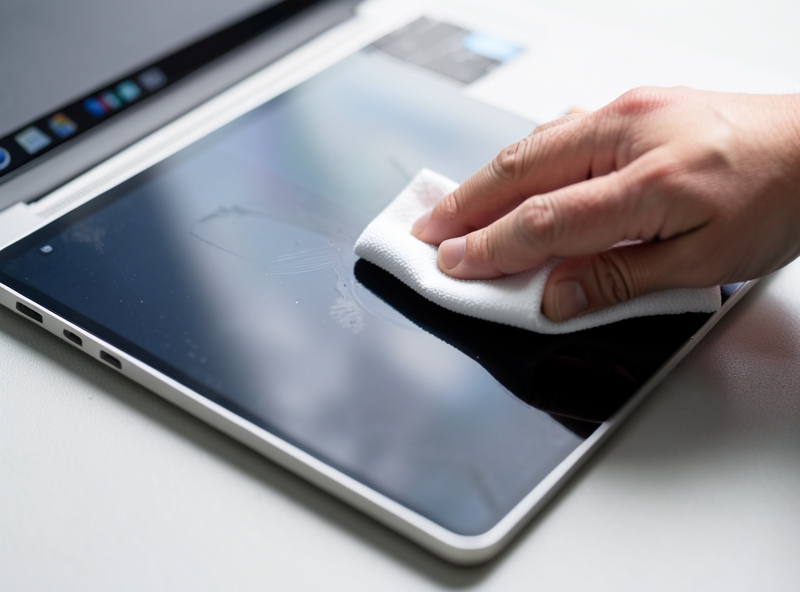
Step 4: Clean the ports – Safe foreign object removal guidelines
Dust buildup in USB-C, Lightning, or HDMI ports interrupts current flow, causing overheating or failure to charge.
- ABSOLUTELY NO sharp metal objects: Do not use sewing needles, safety pins, or cotton swabs with metal cores to poke into the charging port. Metal will break delicate contact pins or cause a short circuit in the internal battery.
- Correct tools: Use a thinly shaved wooden toothpick, a specialized plastic pick, or an anti-static soft brush. Gently scoop out lint and dirt trapped at the bottom of the port. Then, use an air blower for a final clean.
"Tech maintenance is not about using harsh chemical cleaners, but about controlling moisture and using the right mechanical tools for each material."
| Cleaning Area | Recommended Standard Tools | Common Mistakes to Avoid |
|---|---|---|
| Keyboard | Air blower, microfiber cloth, 70% Isopropyl Alcohol | Using soaking wet cloths, spraying alcohol directly into key gaps |
| Screen | High-density microfiber cloth, distilled water / specialized solution | Spraying solution directly on glass, wiping in circles, using glass cleaner containing Ammonia |
| Ports | Wooden toothpick, plastic pick, anti-static soft bristle brush | Using sewing needles, paper clips, cotton swabs that shed lint |
Following this procedure every two weeks will not only keep your device looking like new and maintain maximum cooling efficiency, but also save you hundreds of dollars in unnecessary hardware repair costs.
4. Disinfection Secrets and Controlling Electrostatic Discharge (ESD) Risks That Cause Circuit Damage
You meticulously wipe down a smart remote, clean a keyboard, or open an electronic device casing to disinfect it, but after plugging it back in, the device is completely "dead"? This shock isn't due to clumsiness, but rather a "silent killer" known as electrostatic discharge (ESD) combined with the wrong cleaning solution.
The human body is a living capacitor. Walking on carpets or friction from synthetic clothing can build up static voltages up to 3,000V - 15,000V. Meanwhile, the tolerance threshold of modern semiconductor microchips (such as CMOS chips and microcontrollers) is extremely delicate: a leakage voltage of just 10V to 100V is enough to puncture the ultra-thin oxide layer, causing hidden circuit burns or immediate component "clinical death" without leaving any visible scorch marks.
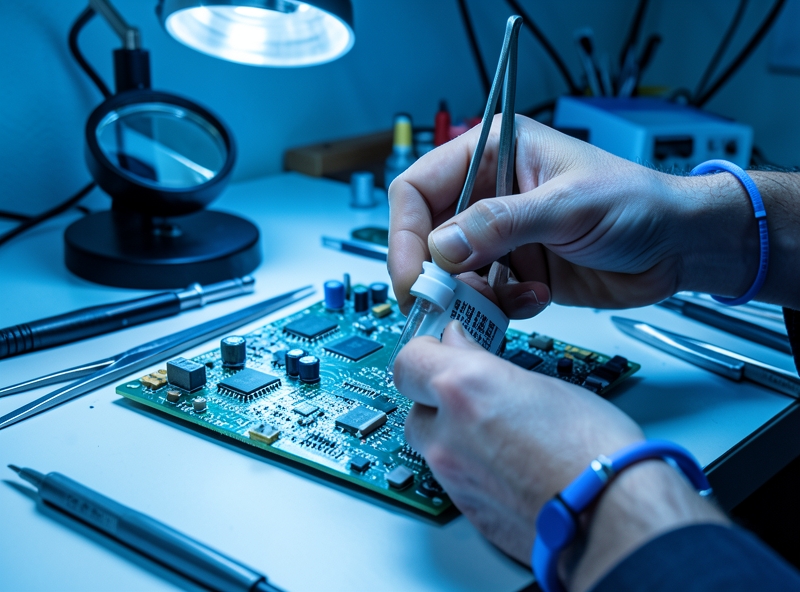
To eliminate 99.9% of bacteria adhering to the circuit board while completely preventing electrostatic discharge risks, strictly follow the standard 3-step technical process below:
- Step 1: Discharge body static before touching components: Before opening a device casing or touching a circuit board, discharge all built-up electrical potential on your body. The simplest way at home is to touch both palms to an unpainted metal frame of a refrigerator, a grounded washing machine casing, or a wall-embedded steel rod for about 5 seconds. If you perform this task frequently, equipping yourself with a grounded anti-static wrist strap (ESD Wrist Strap) is a worthwhile investment to protect expensive equipment.
- Step 2: Use specialized fast-evaporating cleaning solutions: Using distilled water or 70% medical rubbing alcohol is a fatal mistake. The remaining 30% water content in medical alcohol evaporates very slowly and contains minerals that easily cause short circuits and corrode chip pins. The mandatory choice is 99% Isopropyl Alcohol (IPA) or a Quick Drying Contact Cleaner spray for electrical circuits. These substances are non-conductive, dissolve grease, kill bacteria extremely fast, and evaporate completely in seconds without leaving pooled liquid behind.
- Step 3: Ensure 100% absolute dryness before supplying power: IPA evaporates quickly on flat surfaces, but liquid can get trapped under BGA chips or capacitor slots due to capillary action. Never plug the device in immediately. Use a hand air blower duster to purge excess liquid from narrow crevices, then leave the device in a well-ventilated place for at least 15 - 30 minutes. If you want to speed up the process, only use a hair dryer on the Cool setting; high temperatures from hot settings can warp the circuit board and aggravate static electricity buildup from airflow.
| Comparison Criteria | Conventional Cleaning (High Risk) | ESD-Compliant & Specialized Cleaning |
|---|---|---|
| Cleaning Solution Used | Glass cleaner, 70% medical alcohol, hand sanitizer gel | 99% IPA alcohol / Specialized Contact Cleaner |
| Evaporation Speed | Slow (Prone to moisture accumulation causing component leg rust) | Ultra-fast (Evaporates completely within 3-5 seconds) |
| Electrical Conductivity | Yes (Very high risk of short-circuiting) | No (Completely non-conductive during operation) |
| Static Control | Ignored (Can easily destroy semiconductor chips) | Body static discharged / Using ESD tools |
"In the world of microchips, moisture destroys devices slowly, but static electricity finishes them off in a microsecond. Patiently waiting for the circuit board to dry completely is the single best investment to save on expensive repair costs."
Properly controlling static voltage combined with the right fast-evaporating chemicals transforms household electronics maintenance from a game of chance into a scientific, completely safe procedure that extends device lifespan for years to come.
5. Frequently Asked Questions (FAQ)
A micro-scratch on a high-end display or a short circuit caused by detergent seepage can ruin an expensive device worth thousands of dollars in just a few seconds. Below are in-depth answers to the most common questions to help keep your family's tech assets completely safe.
Should you use 90-degree medical alcohol or glass cleaner to clean screens?
Absolutely NOT. This is the most common mistake that leads to permanent damage to TV, laptop, or smartphone screens.
- 90-degree medical alcohol: High alcohol concentrations evaporate extremely quickly, but at the same time, they strip away anti-reflective coatings and oleophobic (anti-fingerprint) coatings. As a result, the screen develops splotches, yellowing, and becomes significantly more prone to smudges.
- Regular glass cleaner: Most contain Ammonia or Acetone. These harsh chemicals corrode the protective plastic layer, cloud the display surface, and cause micro-cracks and brittleness on the screen panel.
Technically sound solution: Only use Isopropyl Alcohol (IPA) solutions below 70% concentration lightly sprayed onto a damp microfiber cloth, or specialized screen cleaning sprays that are alcohol-free and solvent-free.
What is the optimal frequency for cleaning electronic devices?
Cleaning too infrequently allows dust to build up and cause overheating; however, cleaning too often with liquids increases the risk of moisture damage to internal components. The standard frequency guidelines below will help your devices consistently maintain peak performance:
| Device Type / Surface | Optimal Frequency | Correct Procedure |
|---|---|---|
| Phones, tablets | Every 1 - 2 days | Wipe dry with a microfiber cloth to remove grease and adhering bacteria. |
| Keyboards, mice, headphones | Once a week | Use a soft brush, dust blower, and a mild disinfectant solution. |
| TV screens, computer monitors | Every 2 weeks | Dust with a dry or slightly damp microfiber cloth to prevent static buildup. |
| Charging ports, Laptop/PC heat vents | Every 1 - 3 months | Use compressed air sprayed at a 45-degree angle to blow dust outward. |
What should you do immediately if liquid is spilled inside a device?
In this emergency situation, every second counts to save the circuit board. Precisely follow these 4 emergency steps in order of priority:
- Step 1: Power off immediately. Unplug the charger and hold down the physical power button for 5 seconds to completely shut down the device. Do not waste time performing an OS shutdown.
- Step 2: Turn the device upside down. Use gravity to pull the liquid back out through the keyboard or openings, preventing it from seeping deeper into the CPU and motherboard.
- Step 3: Blot surface liquid. Use highly absorbent paper towels to soak up standing liquid in ports and connectors. Never use a hair dryer on hot settings, as it will melt plastic components and push water deeper inside.
- Step 4: Passive drying. Place the device in a well-ventilated, dry area for at least 24 to 48 hours before attempting to turn the power back on.
"Never submerge a water-damaged device in a bag of rice. Microscopic starch dust from the rice combines with moisture to form a sticky paste that clogs cooling fans, rusts charging ports, and ruins circuit boards even faster."
If the spilled liquid is soda, coffee, or a saltwater solution, after administering surface first aid, take the device to a professional service center for an immediate ultrasonic circuit board cleaning to prevent metal corrosion and broken traces.